Cevapcici sausage — Balkan Flavor on the Grill


- Type
- Bratwurst
- Level
- Easy
- Rating
- Rate this recipe
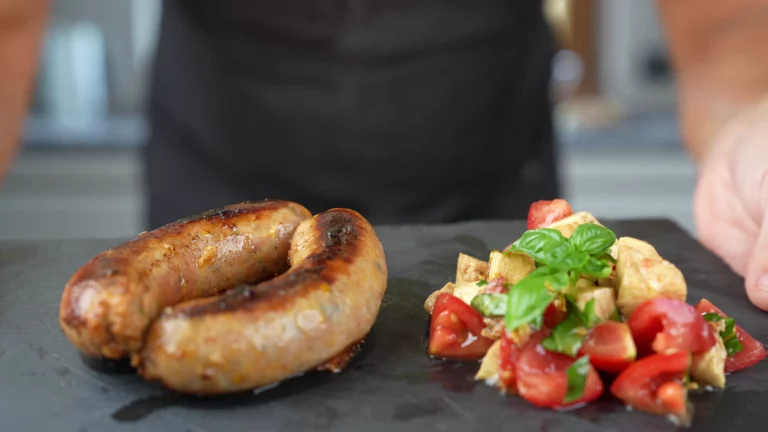
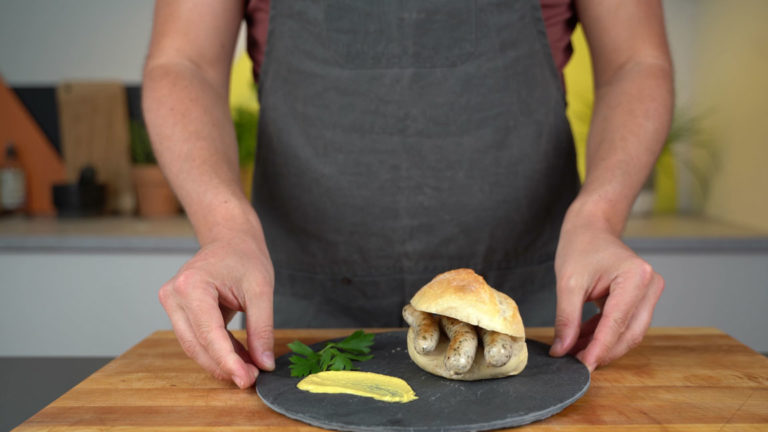
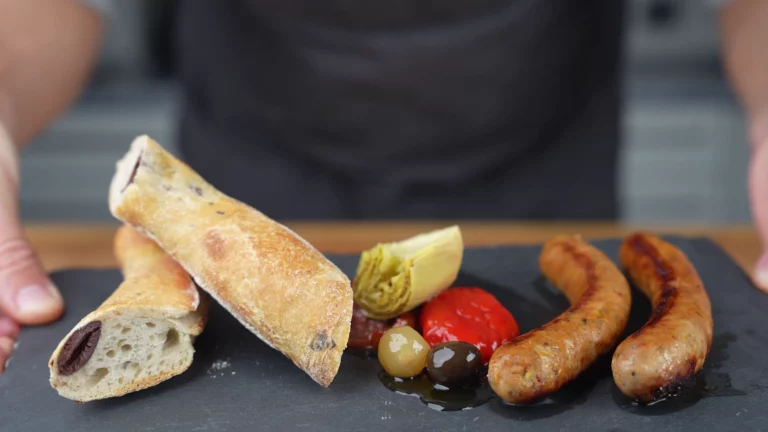
In this post, I’ll show you how to make your own cevapcici in the form of sausage. Cevapcici are those small, finger-thin grilled classics from the Balkans: spicy, juicy, and with that signature firm bite that you’ll never forget once you’ve tried it. In my version, all the flavor of cevapcici is packed into a thin casing, so you can easily grill them like a bratwurst or pan-fry them.
The secret to that signature firm texture lies in the combination of a finely ground pork-beef blend, onions ground right in with the meat, and a small amount of meat tenderizer. It sounds technical, but it’s done in a flash: the recipe is simple and easy enough even for beginners.
If you’re looking for more creative bratwurst ideas, be sure to check out my recipe book “”24 Bratwurst Recipes For A Perfect Barbecue Experience”.
I also answered some general questions about making bratwurst in my post Making Bratwurst Yourself. Have a look there.
But now enough talking…
Here you can find the complete cepapcici sausage recipe as a video or to read through.
Have fun and good luck making it!

Cevapcici sausage – What do you need to make it?

With the right ingredients and a little patience, you can easily make this delicious cevapcici bratwurst.
Ingredients per 1 kg
| Ingredient | Grams | Percent |
|---|---|---|
| marbled pork | 500 g | 50 % |
| lean beef | 300 g | 30 % |
| pork back fat | 200 g | 20 % |
Spices per 1 kg
| Ingredient | Grams |
|---|---|
| onion | 150 g |
| salt | 20 g |
| garlic cloves | 8 g |
| sweet paprika | 7 g |
| black pepper | 3 g |
| Cutter Phosphate (e.g BRIFISOL 414, PhosThis!, Ames Phos) | 3 g |
| hot paprika | 3 g |
The fat content should be between 20 % and a maximum of 25 %.
The equipment to make cevapcici sausage
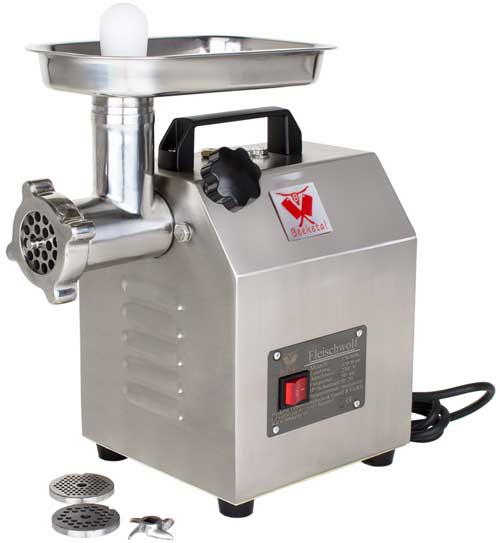
A meat grinder cuts the meat into small pieces so it can be mixed with the seasoning. Cut the meat into pieces that fit the feed tube before grinding.

Sausage stuffer, grinder attachment or funnel
Use a sausage stuffer to fill the mixture into its casing. A stuffing attachment for your meat grinder or a hand funnel also works when you are starting out.
Natural casings
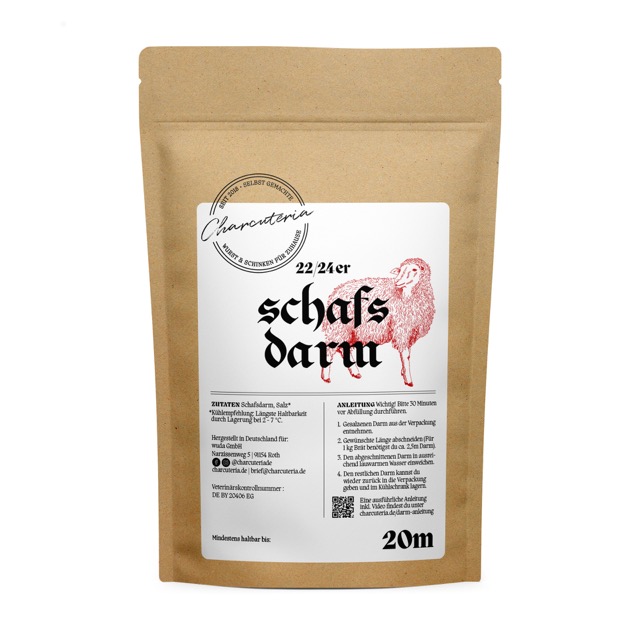
For this Cevapcici-style bratwurst, I use sheep casings, caliber 22/24.
For readers in the EU: you can buy these casings in my German shop. Sheep casings, caliber 22/24, 20 m.
Cevapcici sausage – Step-By-Step Instructions
Follow these steps to make the perfect cevapcici sausage.
Cut the streaky pork, the lean beef, and the pork back fat into pieces suitable for the meat grinder. Do the same with the peeled onion: it will also go through the meat grinder later and must therefore be prepared into suitable pieces now. Chop or press the garlic separately into a fine paste so that it distributes evenly throughout the sausage meat later, without any lumpy pockets of flavor.

Place the chopped meat, back bacon, and onion in the freezer for about 1 hour, until everything is well chilled but not completely frozen. This prevents the 25% fat content from sticking to the mincing plate during grinding, ensuring a clean, uniform texture in the sausage meat later on. If the bacon is warm, it will make your cevapcici sausage crumbly and dry.

Now grind everything together using the finest disc on your meat grinder: pork, beef, back bacon, and the partially frozen onion pieces. I deliberately use the finest disc for the cevapcici sausage because cevapcici traditionally have a very fine, compact texture. If you prefer your cevapcici sausage to be a bit coarser, you can of course use the medium-sized disc as well. It’s a matter of taste!

Add the salt, black pepper, sweet and hot paprika, Cutter Phosphate, and garlic paste to the ground meat mixture. Now knead everything very vigorously for about 3 minutes. Feel free to lift the sausage mixture up with both hands and toss it back into the bowl: this “lifting and tossing” is crucial for the typical firm, chewy texture of cevapcici. You’ll know the mixture has the right consistency when light streaks of fat form on the sides of the bowl and the mixture looks sticky and uniform. Tip: Don’t have any Cutter Phosphate on hand? You can substitute a pinch of baking soda, but use it very sparingly—otherwise, the sausage will develop a slightly soapy aftertaste.

Thread the soaked sheep casings (caliber 22/24) onto the sausage stuffer. For cevapcici sausages, I deliberately stick to this thin casing, because cevapcici are traditionally as thin as a finger: with a sheep casings, you’ll achieve the familiar look and that familiar bite when you take a bite.
Fill the casing with the sausage meat slowly and evenly. Don’t overfill it, or the thin sheep intestine will burst when you tie it off or later when frying it in a hot pan. You should still be able to press your finger into the filled casing slightly: that’s exactly the right filling density for a juicy cevapcici sausage.

Twist the sausages to your desired length. I make them a little longer than classic cevapcici—about 12 to 15 cm—because I prefer to eat them like a real bratwurst. To do this, hold the sausage between two fingers, twist it forward, leave a length of sausage exposed, and repeat the process in the other direction. This ensures that each individual sausage remains neatly sealed. If you want the classic, finger-length cevapcici look, simply cut them into pieces about 8 cm long.

Now you have several options. I prefer to eat them fresh from the pan or off the grill: cook them over medium heat for about 10 to 15 minutes, until they’re golden brown on the outside and cooked through on the inside. Alternatively, you can freeze your cevapcici sausages in portions or blanch them at 75 °C (167.0°F) for about 25 minutes. This will keep them fresh in the refrigerator for a few more days.

Your cevapcici sausage is ready. I like to serve it with a generous dollop of ajvar, creamy kajmak, and warm flatbread—that way, it tastes just like it does at the Balkan grill around the corner. And you’ll notice: the meat grinder attachment and the fine grind give it exactly that typical firm texture that makes cevapcici so beloved. Enjoy! 🙂
Frequently asked questions
How long does homemade cevapcici sausage last?
How long does homemade cevapcici sausage last?
Fresh, raw cevapcici sausage will keep in the refrigerator for about 2 to 3 days. If you blanch it at 75 °C (167.0°F) for about 25 minutes, the shelf life extends to 5 to 7 days. When frozen in portions, it will keep for 3 months without any problems.
Can I make cevapcici sausage without a meat grinder?
Can I make cevapcici sausage without a meat grinder?
Yes, as an alternative, you can use a pinch of baking soda. Both work similarly and give the sausage its typical firm, chewy texture. With baking soda, however, you really need to use it sparingly; otherwise, the sausage will develop a slightly soapy aftertaste. Meat grinder additive therefore remains my first choice: it’s easier to measure accurately and has a neutral taste.
Why don’t my cevapcici have that typical bite?
Why don’t my cevapcici have that typical bite?
The typical cevapcici bite comes from a combination of three things: the fine grind, the cutter additive, and vigorous kneading of the meat mixture. If the texture seems too soft to you, you’ve probably kneaded it for too short a time. Next time, really get your hands into the meat mixture and toss it back into the bowl several times until distinct streaks of fat form and the mixture feels sticky and compact.
Can I make cevapcici without beef?
Can I make cevapcici without beef?
You can, but the sausage will be significantly milder and lose some of its typical Balkan character. The lean beef adds a robust base flavor to the mixture and provides color. If you use only pork, compensate by adding a little more paprika, salt, and garlic to bring the seasoning to a comparable level.
Can I make cevapcici bratwurst without the casing?
Can I make cevapcici bratwurst without the casing?
Yes, you can shape the mixture into bratwurst without the casing and grill or fry it. You can find my bratwurst without casing recipe here.
What should I serve with cevapcici?
What should I serve with cevapcici?
The classic accompaniments are ajvar, kajmak, and warm flatbread—that’s the complete Balkan combination. A fresh coleslaw, pickled peppers, or a quick onion-parsley salsa round out the meal nicely.