
Canning Sausage – Preserving instructions incl. 14+ recipes

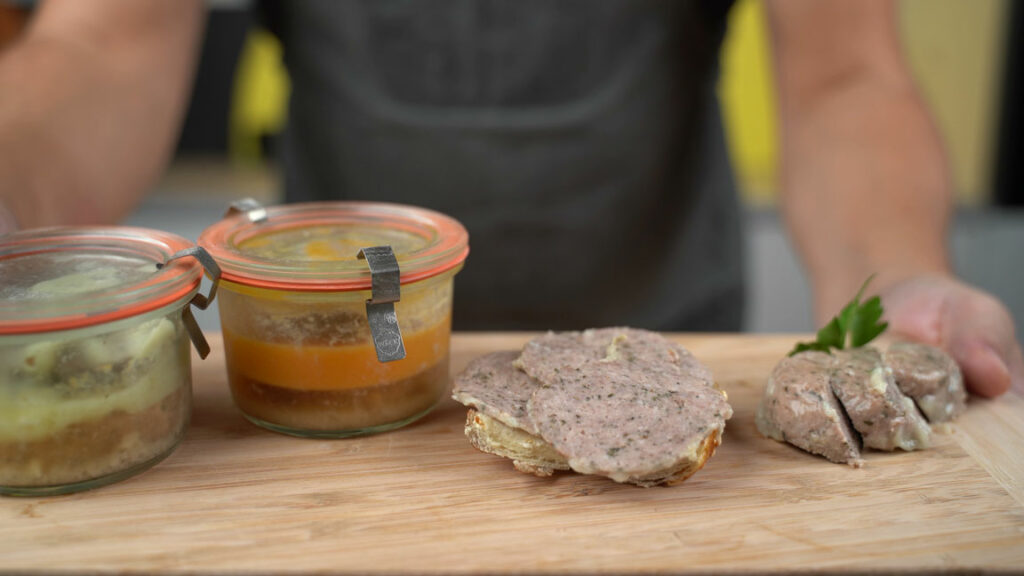
This guide makes refrigerated sausage in jars. Keep it in the fridge and use within 2–3 weeks; the water-bath method here does not produce shelf-stable canned meat. In this post, I’ll show you what equipment you need to can sausage. Next, I’ll go over the ingredients and step-by-step instructions. After that, I’ve compiled my 14 favorite canning sausage recipes for you.
The post is rounded out with the most frequently asked questions and tips & tricks from me.
Store the finished sausage in the refrigerator, including unopened jars, and use within 2–3 weeks.
Have fun reading or watching the video!

Level: Easy
Table of Contents
The equipment you need to make canned sausage
In this section, I’ll show you how to make perfect canned sausage with the right equipment. For most of the tools mentioned here, I’ll also show you alternatives that I’m sure you already have in your kitchen.
Preserving aids
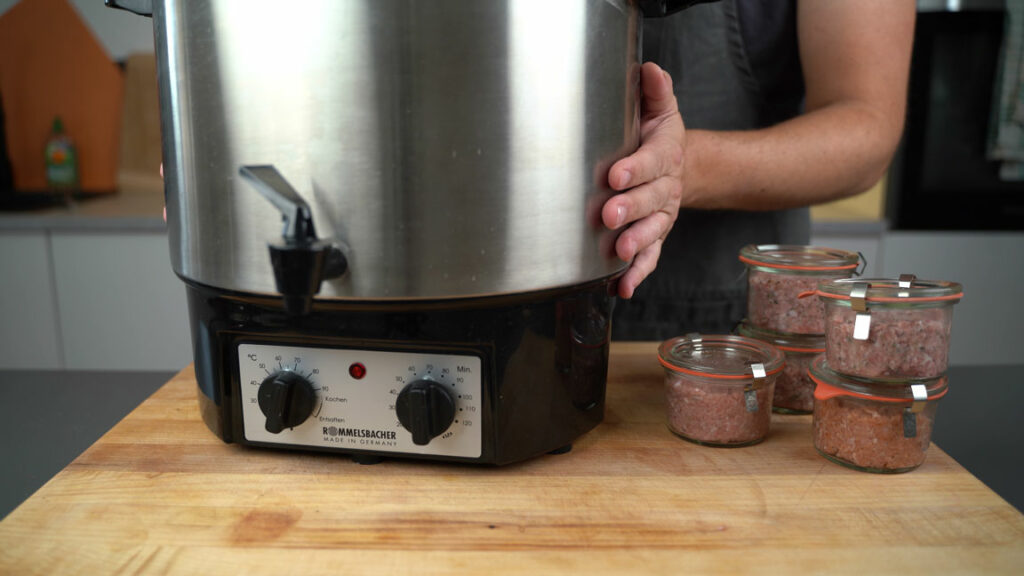
Since you should keep the temperature as constant as possible when preserving sausages, you will first need…
Preserving pots and preserving machines
There are several different types. Preserving pots you put on the stove, while the machine heats itself. You can safely leave it to itself, which is quite convenient.
With the built-in thermometer you can always see how hot it is inside. You can regulate the temperature very easily.
If you plan to do a lot of canning, then the purchase can definitely be worth it.
But if you don’t have anything like that at home or you want to try it first…
Then take a normal saucepan as an alternative.
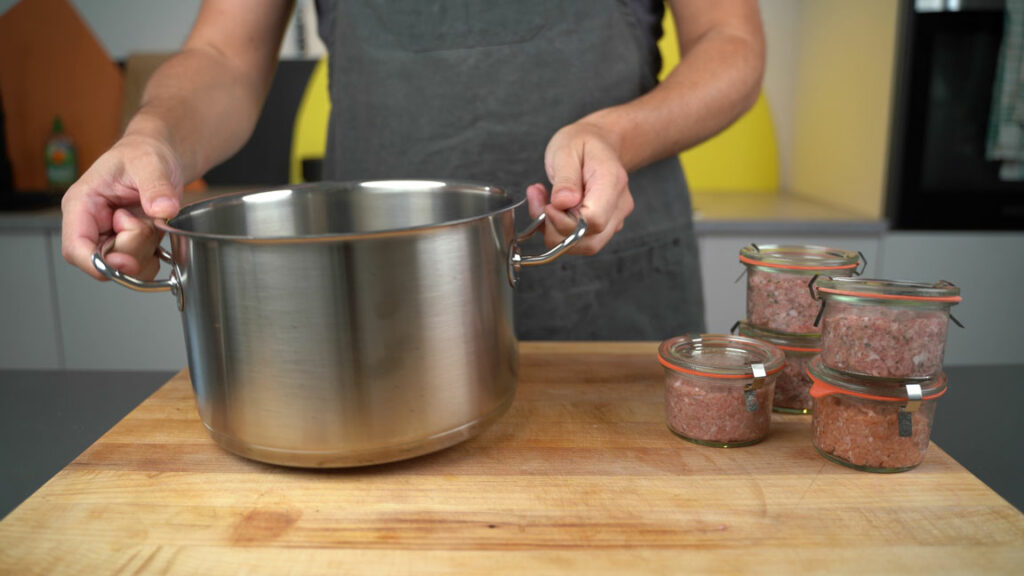
To do this, simply find a saucepan that will fit your jars/cans (more on that in a moment). The jars can also be placed on top of each other, as long as the top jars are covered by the water.
It’s best to place a kitchen paper or something else on the bottom of the pot so that the jars don’t slide around or break during the canning process.
Other tools
Glass lifters are especially handy for getting your hot canning jars out of the pot without burning your fingers.
Alternatively, you can use silicone oven gloves or lift them with a spatula and then fish them out by hand (be careful! You have to be quick or it will hurt).
For pouring into the jars, a ladle and funnel is also nice. If you’ve seen my videos, you know I like to make a bit of a mess. This is definitely minimized with the proper filling aids.
Otherwise, always have a clean cloth with you at your “work station”. Then you can clean up the spills (it can happen) right away and wipe off the rim of the glass in case something goes astray.
The last thing you need is something to fill it with…
Cans or jars – Which is better?
Theoretically, canning and jarring works relatively similarly. For home use, however, there is only one solution that is practical for me personally.
Canning sausage in a can
Cans have the advantage that they cannot break. You can have them with you when hiking, for example, without fear of spreading your canned sausage all over your backpack.
The problem is that you need a canning machine to can them. That’s new relatively expensive to buy and then for home use most of the time it’s also another piece of equipment sitting around in the way.
In addition, cans perform worse ecologically than glass.
So my recommendation is to make your sausage in a jar.
Canning sausage in a jar
Yes, jars can break more easily than cans, but are still the clear winner for me in all other areas. They are easy to use, reusable, and quite simple to use at home in the kitchen without any additional equipment.
You may now be asking yourself…
Which jars are suitable for canning sausage?
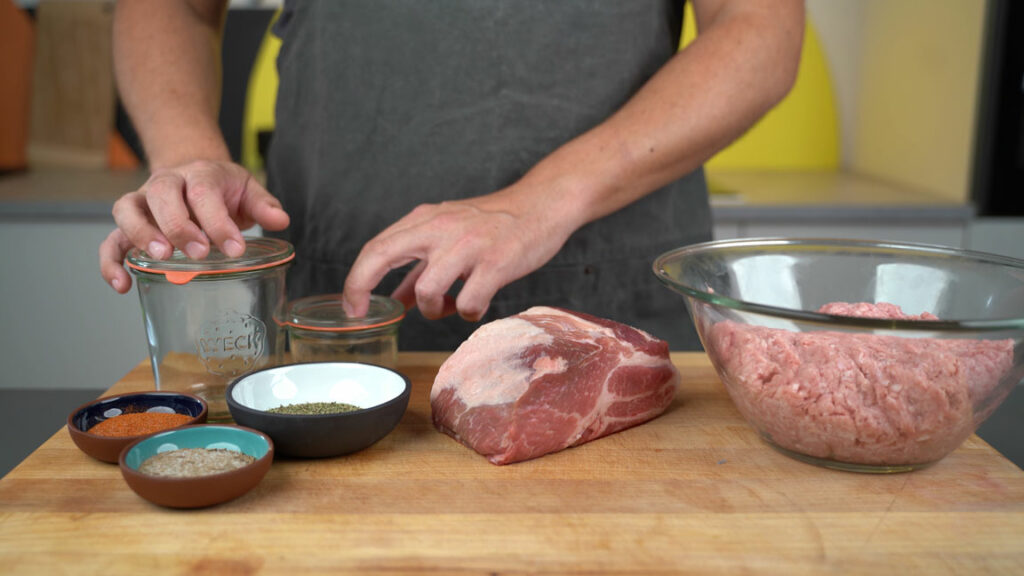
The most common 3 types of jars I use are….
Preserving jars with screw lids (lintel jars).
Super simple and inexpensive jars. Depending on the lid, they are also reasonably respectable in design. You can’t go wrong with these jars. I have also used them with sausage inside as Christmas gifts.
Weck preserving jars
Weck preserving jars are thicker walled and sturdier than the lintel jars, but more expensive as a result. While screw jars can also sometimes shatter, these jars are the tank of canning jars.
Mason Ball Jars
These are actually my personal favorite. When it comes to gift giving, nothing comes close to them. They just look really good and so far I have succeeded with everything and nothing has broken.
In any case, make sure that your glasses are undamaged. Nothing is more annoying than when the canned sausage goes bad.
These are the ingredients you need to make canned sausage
Meat
Depending on the recipe, of course, you can use different types of meat. In my case, you will find the necessary pieces in each recipe.
Let’s assume for simplicity that you want to jar a bratwurst, then I would recommend per kg:
● 60% pork shoulder (600g).
● 40 % pork belly (400g).
Spices per kg of meat:
The spices in a sausage are, of course, the most important ingredient besides the meat. They determine the taste of your sausage. You can follow my recipes for the spices or you can create your own spice mixture for your minced meat.
Example spices for our sausage in a jar:
- 15.5 g salt
- 2.5 g Cure #1
- 2.5 g black pepper
- 1 g mace
- 0.75 g ginger
- 0.5 g allspice
- 0.5 g lemon zest
- 0.25 g cardamom
Canned sausage – step by step instructions
The principle is relatively simple. You fill raw or partially precooked meat or sausage meat (more on this in the recipes) into jars and cook it for a certain time.
Through cooking, the sausage mass gradually heats up and becomes firm to the cut through protein coagulation. This cooking method does not make the jars safe for unrefrigerated storage. In cooked sausage recipes, such as liver sausage, the sausage remains spreadable due to pre-cooking.
Important: This is a refrigerated preparation, not a shelf-stable canning process. Keep the jars in the fridge and use within 2–3 weeks.
- Salt and Cure #1 do not make this water-bath method safe for unrefrigerated storage.
- Alternatively, cook at 120 °C (248 °F) in a suitable pressure cooker. Keep the finished jars in the fridge and use within 2–3 weeks.
Despite all precautions, the contents can also spoil sometimes. This is because, for example, other bacteria in the can decompose the can contents over time, excreting carbon dioxide. This causes the lid to rise.
Jars with domed lids are called bombards. Under no circumstances should the contents be eaten. Eating them has serious consequences that could lead to death.
So always throw away bombages!
To summarize in a nutshell…
- Make your sausage meat according to the recipe
- Transfer it to your sterilized canning jars
- Seal the canning jars according to the instructions
- Boil the sausage jars for a sufficiently long time
- Ready is your canned sausage
- Store it in the fridge and use within 2–3 weeks. Do not eat sausage from jars with bulging lids.
Tip: If you want to minimize the amount of fat and water used in canning your sausage, you can also use a little cutter aid in recipes where it is not specified.
Book recommendation: The Full Guide On Making Sausages Easily At Home Step-by-step instructions & 37 delicious recipes
14+ delicious canned sausage recipes
In this section, I’ve written down & linked you to 14 recipes from my blog. These are great for canned sausage. In total, you’ll find over 80 possible sausage recipes here.
Schinkenwurst – Bavarian Bologna & Foundation For Many Cold Cuts
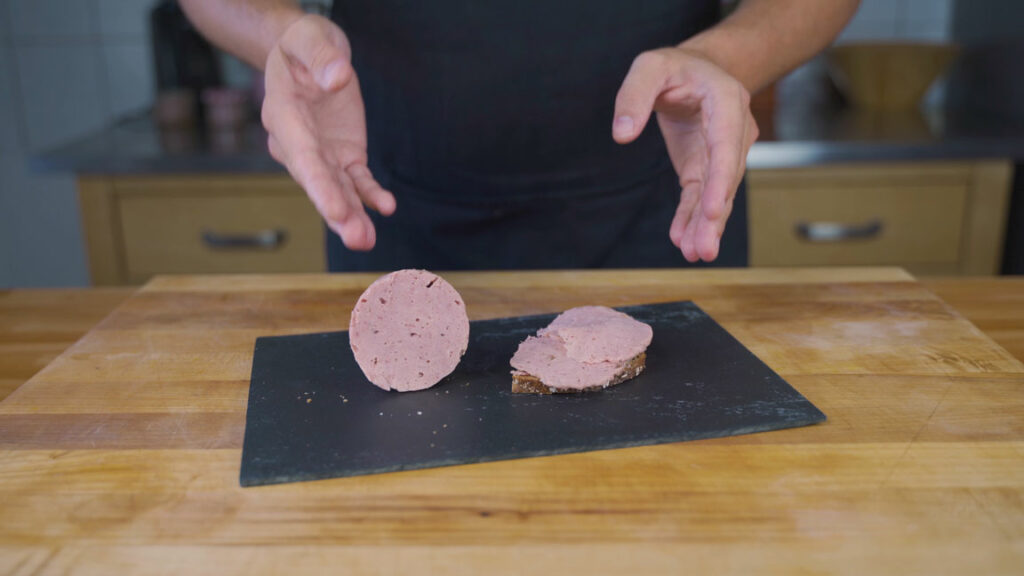
Complete Schinkenwurst recipe.
Göttinger Bierwurst – Savory Sausage Goodness
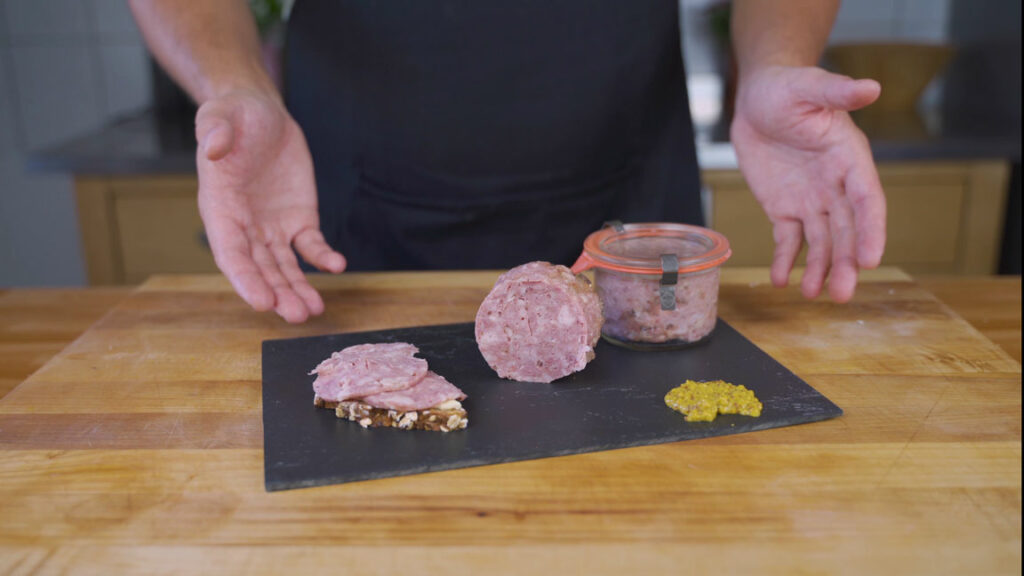
Complete Göttinger Bierwurst recipe.
Homemade Jagdwurst – Delicious Goodness
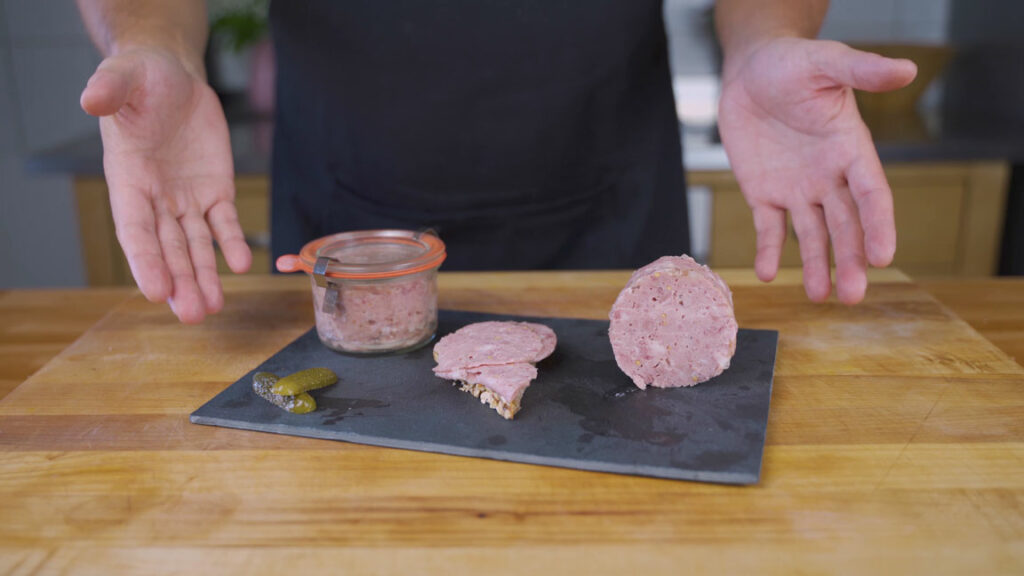
Make poultry liverwurst yourself – mild, fine & super tasty
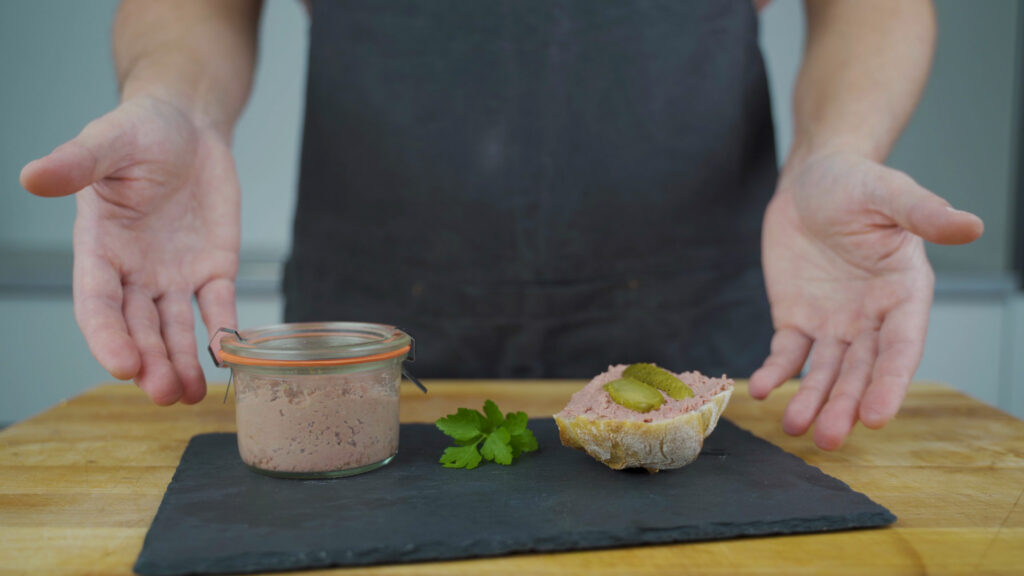
Complete poultry liverwurst recipe.
How To Make Liverwurst – Step-By-Step Guide & Recipe
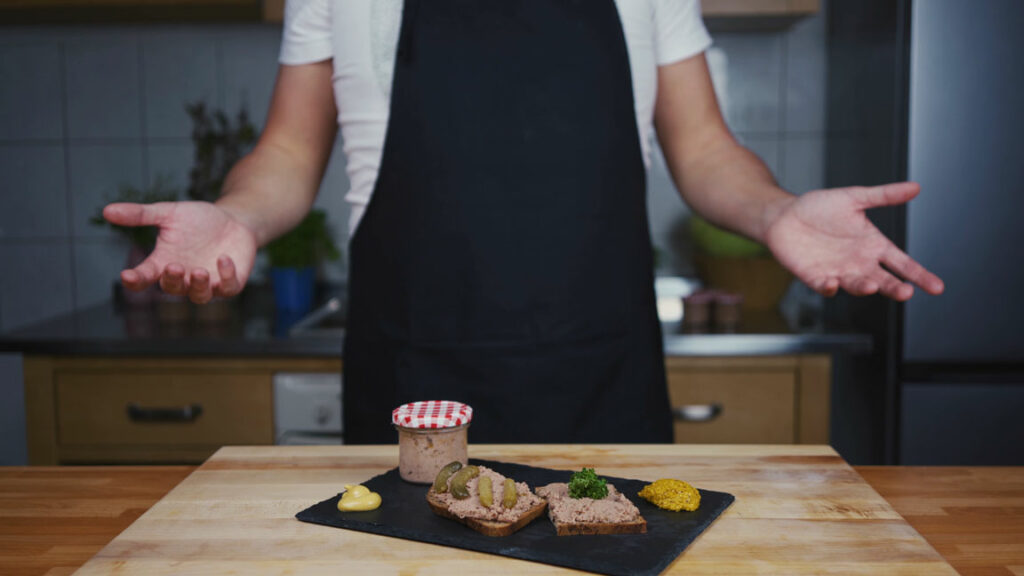
Veal Liverwurst – Mild, Smooth And Super Delicious
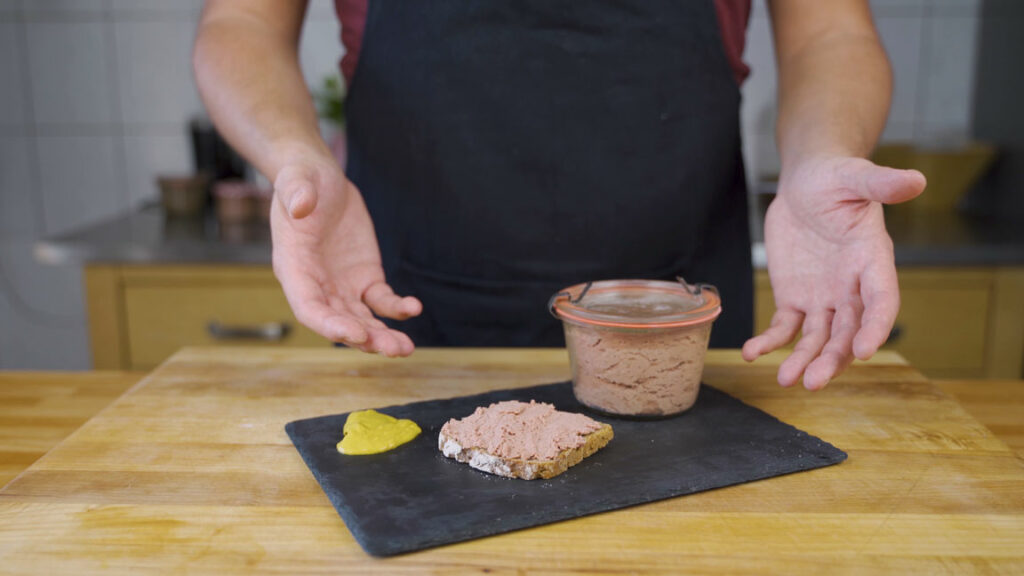
Complete veal liverwurst recipe.
Apple-onion liverwurst – A mouthwatering delicacy
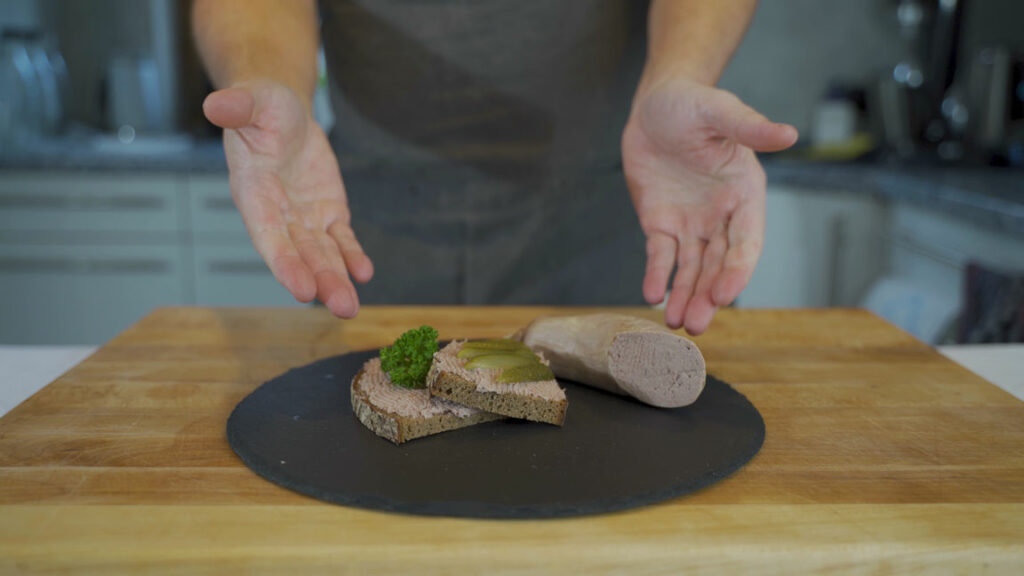
Complete apple-onion liverwurst recipe.
Pfälzer Leberwurst – A Regional Specialty Liverwurst
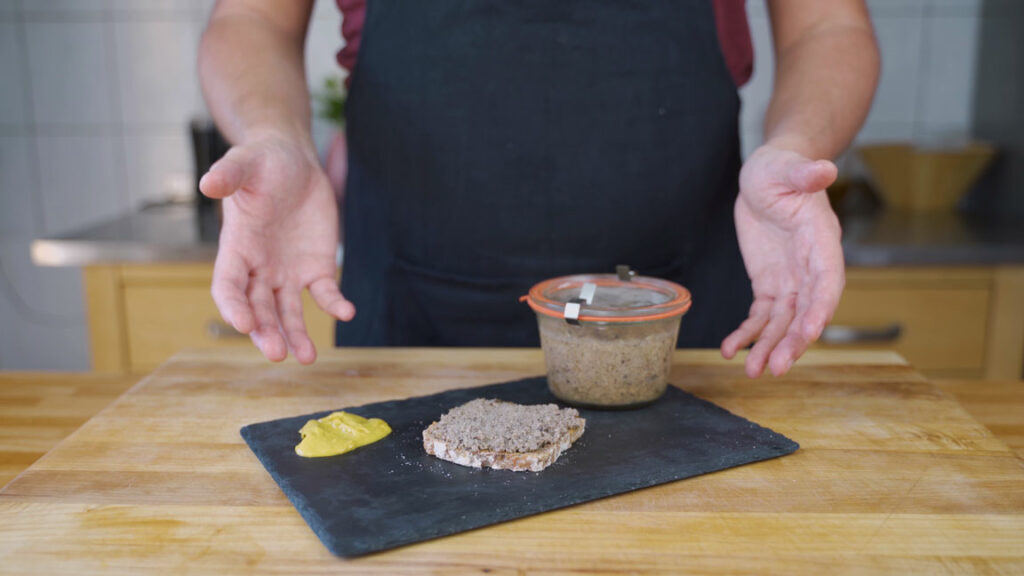
Complete Pfälzer Leberwurst recipe.
Make mediterranean Leberkäse yourself- wow is it delicious!
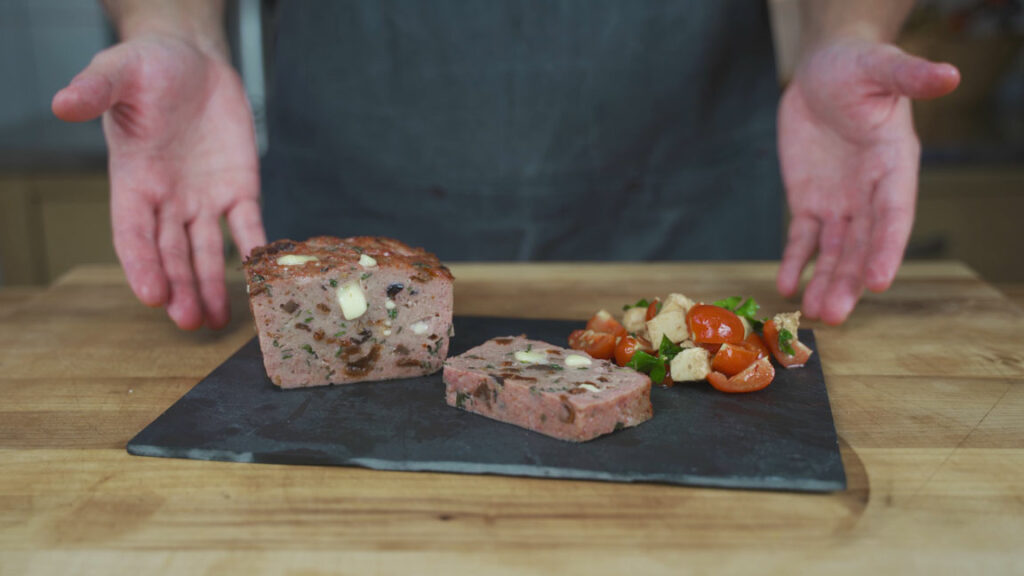
Complete mediterranean Leberkäse recipe.
How To Make Leberkäse At Home – A Step-By-Step Guide
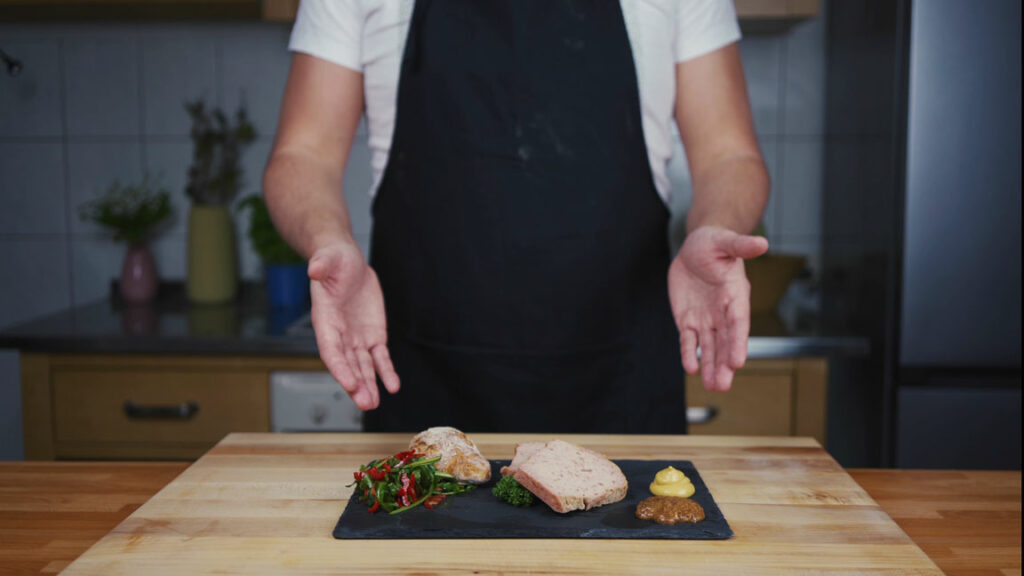
Bierschinken (Beer Ham) – No Beer, No Ham, Still Delicious
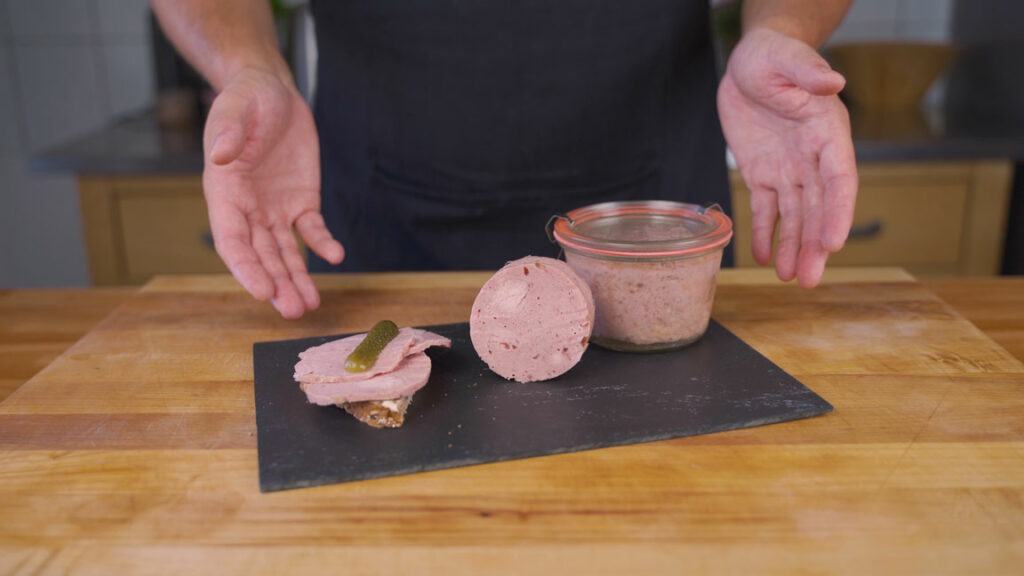
Complete Bierschinken (Beer ham) recipe.
Onion Sausage (Zwiebelwurst) – Spreadable Or Sliceable Always Delicious
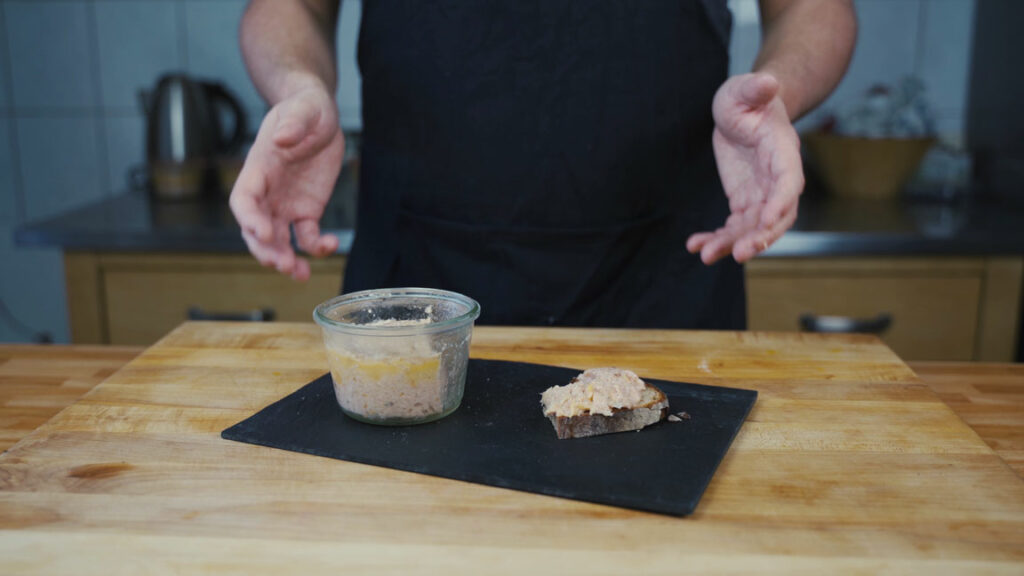
Complete onion sausage recipe.
Make your own cooked mettwurst – Super tasty spreadable variant
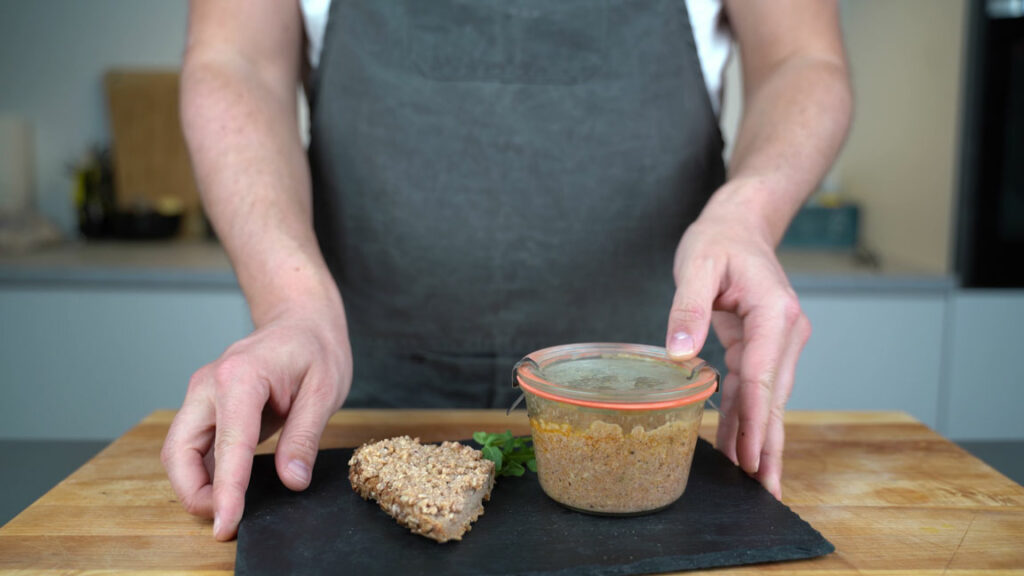
Complete cooked mettwurst recipe.
German Breakfast Meat (Homemade Spam) – Simple & Delicous
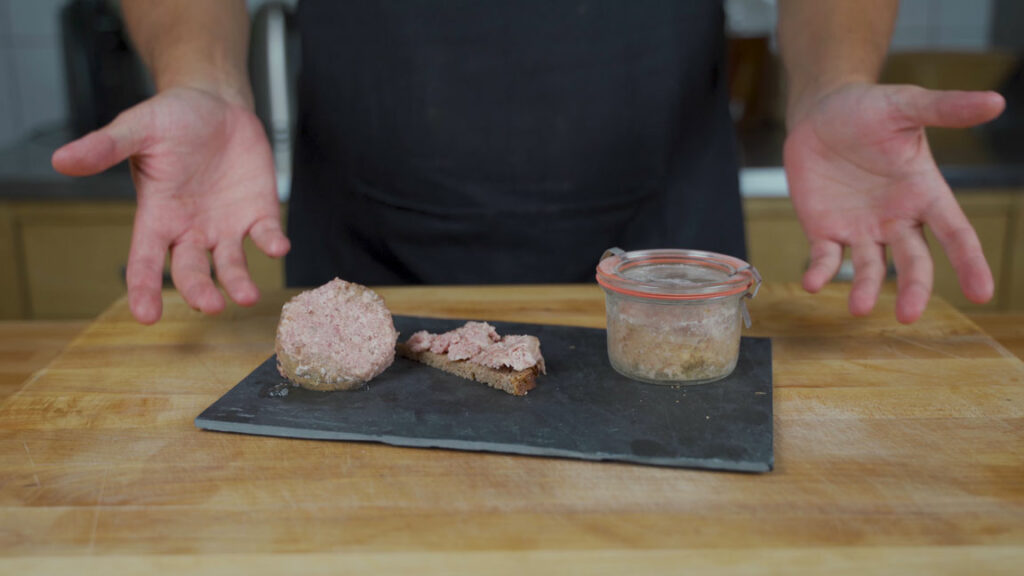
Complete German breakfast meat recipe.
Canning sausage – frequently asked questions
What is the shelf life of the canned sausage?
Keep the sausage in the fridge and use within 2–3 weeks, even if the jar is unopened.
A sealed jar is not proof that the contents are safe.
Do not taste the sausage to test whether it is safe.
Appearance, smell and an intact vacuum cannot establish that a jar is safe. Discard jars with bulging lids or signs of spoilage.
Once you have opened your sausage jar, you should then store it sealed in the refrigerator. The sausage will then keep for a maximum of one week.
Which types of sausage can I boil down?
Basically, you can boil down all types of sausage except for raw sausage and smoked cooked sausages. The reason for this is that the raw sausage would mold in the jar and as soon as it has been boiled down, it is no longer a raw sausage. Smoke flavoring also does not go through the jar is and therefore is “not boil-in”.
How do I get a smoke flavored cooked down sausage?
If you want a smoke flavor, I recommend either smoked paprika powder or a liquid specially enriched with smoke: “Liquid Smoke”.
Can I preserve sausage in the oven?
Do not use oven canning to preserve sausage for unrefrigerated storage.
Use the pot method described here for refrigerated sausage in jars. Keep the finished jars in the fridge and use within 2–3 weeks.
How should I store my sausage jars?
Store your sausage jars in the fridge and use within 2–3 weeks. Do not store them at room temperature.
Important, as mentioned above: if the lid bulges, the sausage is spoiled. Please dispose of it along with the jar. The jar may have a defect and even if you boil it down again, there is a risk that the sausage will spoil.
Should I use salt and cure #1 for canned sausage?
Follow the salt and Cure #1 quantities in the recipe, but do not rely on cure to make water-bath canning at 100 °C (212 °F) safe for unrefrigerated storage. Alternatively, use a suitable pressure cooker at 120 °C (248 °F). Keep the jars in the fridge and use within 2–3 weeks.
Salt and Cure #1 will also give you the classic pink color due to the reddening process. If you don’t use any, your sausage will turn grayish. However, this makes no difference to the taste. Beet powder or tomato powder is suitable as a color alternative.
Is fat or water loss normal?
Yes, this is quite normal! However, the fat is not disturbing and is very tasty. If you would like to counteract this loss a little, you can do this with Cutter Phosphate (e.g BRIFISOL 414, PhosThis!, Ames Phos).
Preserving sausage tips & tricks
These tips apply to refrigerated sausage in jars, not shelf-stable canning.
- Before you start, always check that all jars, lids and rubber rings are in perfect condition and hygienically clean.
- Raw sausage masses decompose quickly due to bacteria. Immediately seal the jars after filling and boil them down.
- There should be some sort of metal grate or kitchen towel on the bottom of the canning pot so that the canning jars and bottom do not touch.
- The water in the pot should always be the same temperature as the contents of your jars. For example, if you are canning sausage mixture, place the jars in cool water and then heat the water. If you are filling a liver sausage mixture that is still a little warm, for example, you should preheat the water in the pot a little.
- The boiling time does not start until the water is bubbling.
- The jars must always be under water while boiling. 10. boiling time for raw sausage mass is 120 minutes = 2 hours, for pre-cooked sausage mass 90 minutes = 1 1/2 hours. (The canning times are guidelines without guarantee).
- Store jars in the fridge and use within 2–3 weeks. Do not use jars with lids that bulge outward.
- To minimize the disposal of fat and water, it is recommended to use Cutter Phosphate (e.g BRIFISOL 414, PhosThis!, Ames Phos).
Hi Daniel,
I regularly receive your emails and I like your work. I just want to give a little feedback.
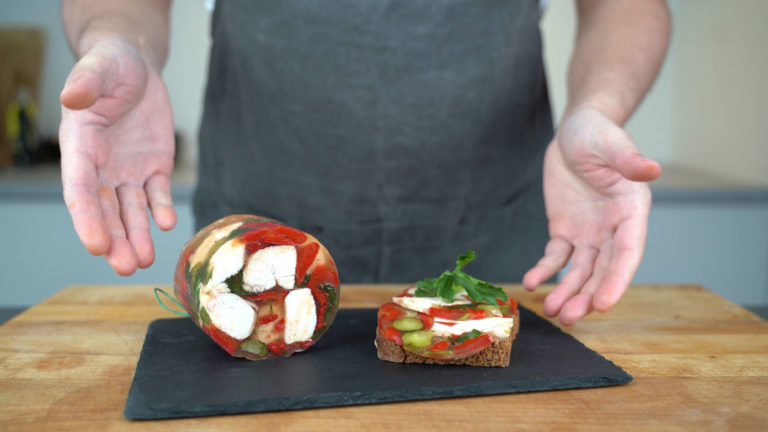
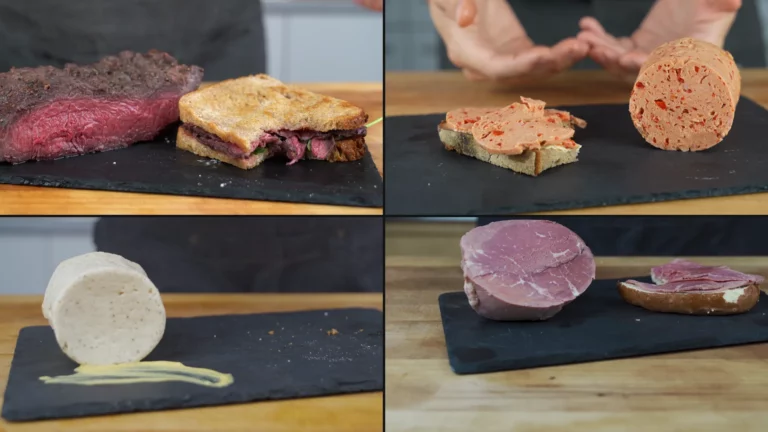
I think you would receive more hits and feedback if you add a little colour to your photos – just a little food styling would make a big difference – people eat with their eyes too.
Anyway, that’s just my opinion – thank you for your inspiration – keep up the good work.
Auf Wiedersehen
Chris