
Curing meat – information & instructions for hams + sausages
Curing meat is a great way to preserve meat and make different types of sausage yourself. I’ll show you everything you need to know about curing in this post. It’s about dry curing as well as wet curing and a hybrid solution of the two methods.
For practical examples, try my corned beef and Speck recipes. My guide to why cured meat is pink explains the colour change.
Table of Contents
What is curing, anyway?
Curing is a special form of salting and helps you preserve your meat or prepare it for different types of sausages.
Since table salt alone is not enough to preserve meat for a long time AND at the same time preserve the natural color of the meat, curing salt is used for curing.
You can also add spices and herbs to adjust the taste to your liking.
Let’s start with the first curing method…
Wet curing
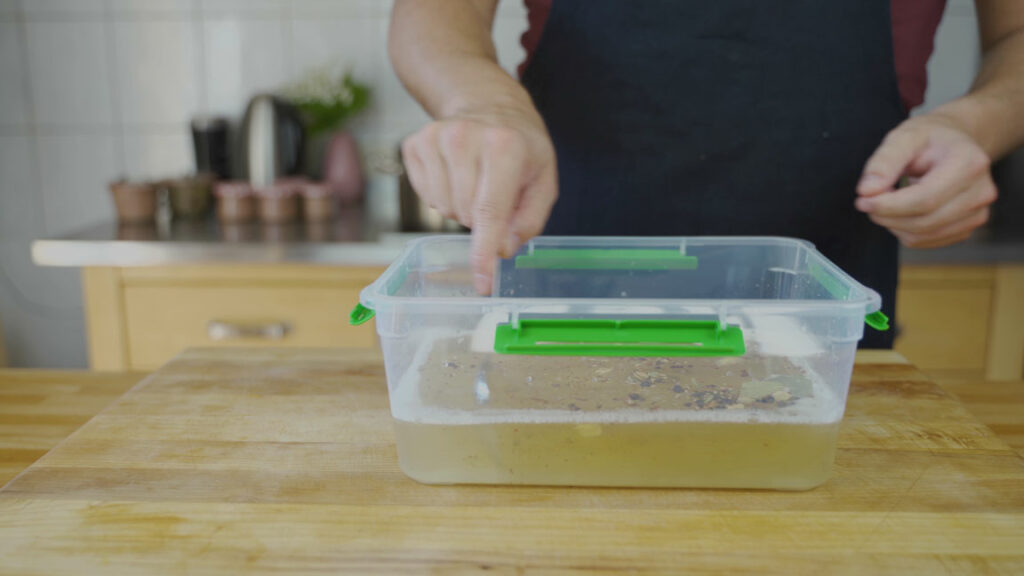
The first thing you need for wet curing is a large enough vessel
It doesn’t matter if it’s a pot, pickle barrel, plastic bowl or glass.
The second step is to make a pickling liquid (see making brine).
The brine must be completely cooled before it can be used.
Then pour your brine into the container of your choice and add your meat pieces.
IMPORTANT: The meat must be completely covered by the brine. You can place a suitable board or something else heavy on top of the meat to weigh it down, to make sure it doesn’t come up for air. The pressure will also help to dehydrate the meat
Still seal your jar with a lid, cloth or plastic wrap. Now the first part is already done. Now you have to wait…
The pickling time is 2 – 3 weeks, depending on the size of the meat pieces. Your pickled meat should be stored in a cool place (max. 8 degrees) for the entire duration. A refrigerator is ideal for this purpose.
Preparation of the brine for wet curing
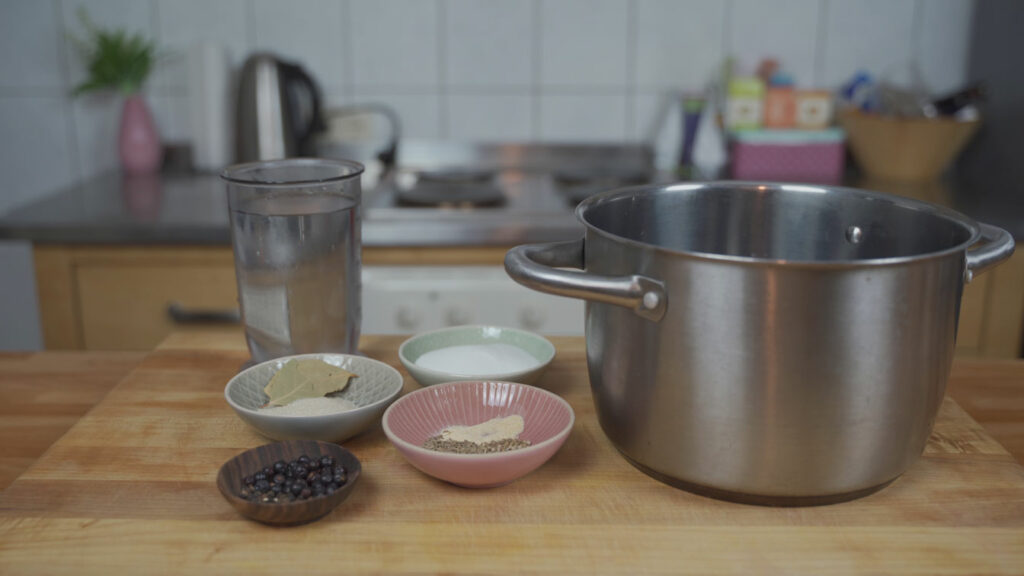
To make the brine you need nitrite curing salt, sugar, water and spices of your choice.
The spiciness of the brine is measured in %. For example, a brine of 10% contains 111 grams of nitrite pickling salt per liter of water.
If you are now wondering why it is not 100 grams, here is the answer:
1 liter of water equals 1000 g.
If you would add 100 g (10 %) you would have 1100 g liquid. But only 100 g of nitrite pickling salt in it.
This would mean that your brine now has only 9.09%.
To get the correct percentage, subtract the target spiciness:
100 % – 10 % = 90 %
This means the water should only make up 90% of the complete amount.
1000g water = 90 % -> 1 % of the brine = 11.11g (1000 g / 90)
To make 10 % brine, you need 101g of salt and 10 g of Cure #1.
Normally the brine is between 8 % and 20 %. It is indicated in most recipes.
So for 1 liter of 10% brine you need
Bring all ingredients to a boil and let them cool down. The brine is ready.
Wet curing with injection (quick curing)
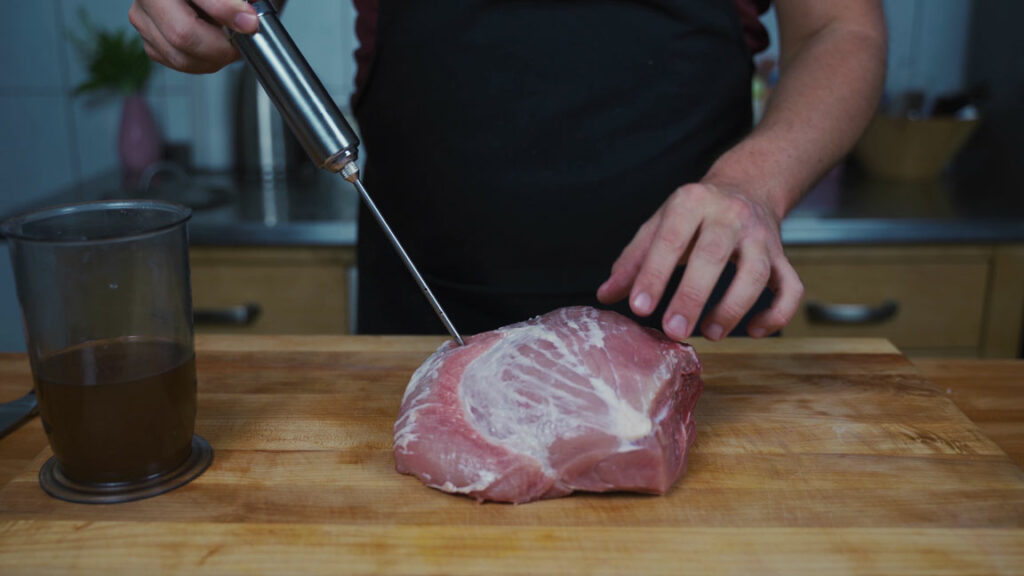
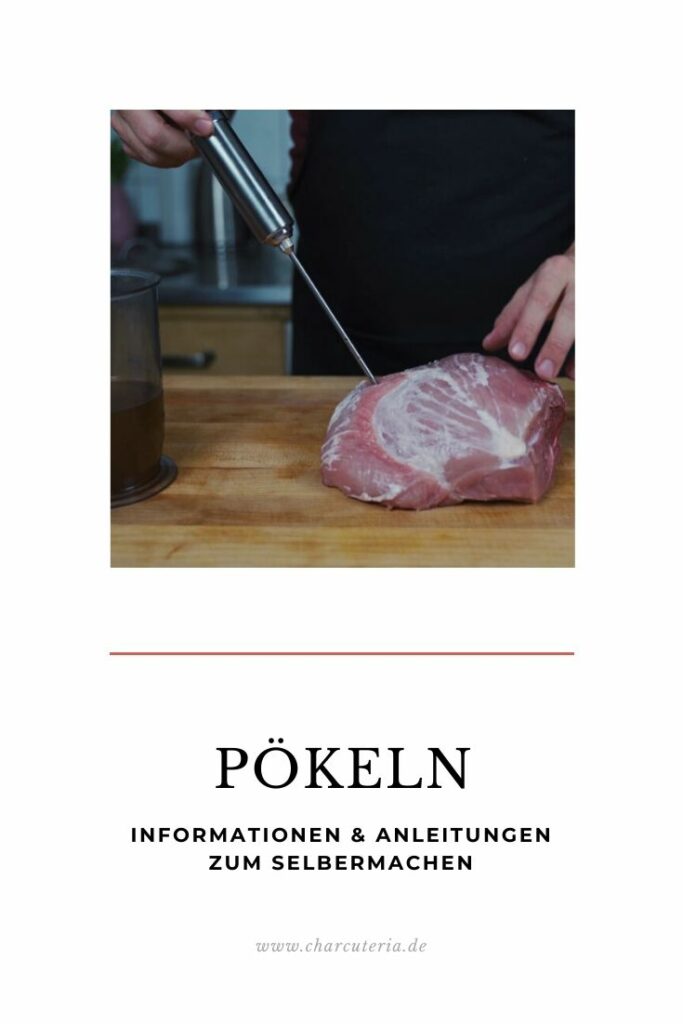
For various types of sausage (e.g. Kassler or cooked ham ), the brine is injected into the meat in addition to the pickling process. The amount of brine injected is about 15-20% of the meat weight.
This process has two advantages:
During cooking, the meat normally loses a lot of liquid. The injected brine keeps your sausage juicy.
The brine duration is greatly reduced depending on the size of the meat pieces, as the brining process is more even. The curing process can thus be completed within 3-4 days.
This method is not suitable for the production of raw sausage or similar types of sausage
Since the meat is cooked after quick curing, it is a method where normal salt can be used instead of nitrite curing salt. Note, however, that the meat will not retain its color and will turn gray.
Dry curing
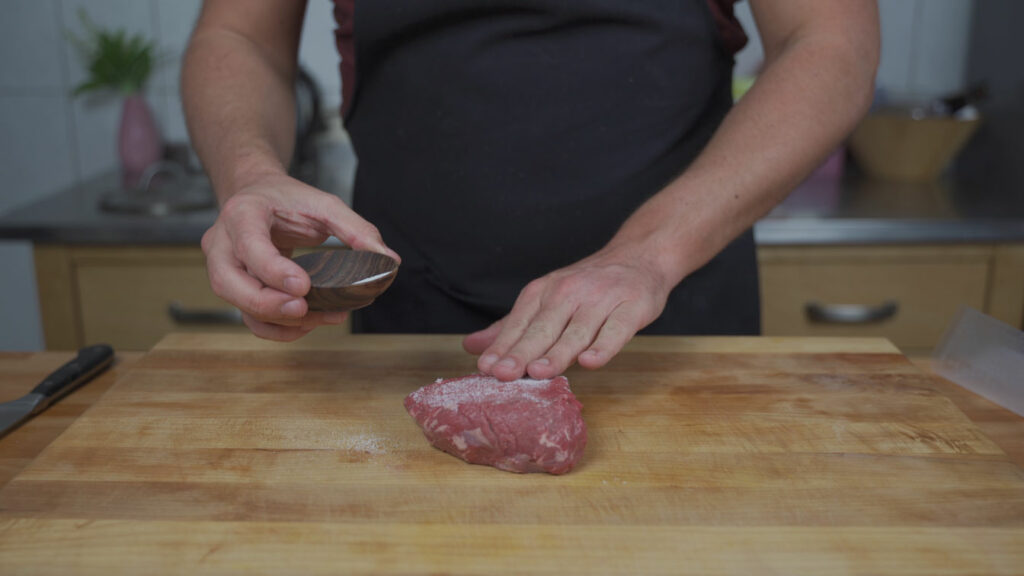
In dry curing, there are different uses of the terms.
The meat is rubbed with the curing salt and placed in a container. Over the curing period, the salt extracts liquid from the meat. You can let this “own brine” drain off or put the meat in it
I explain you first of all the method with which really “everything remains dry” (intrinsic brine runs off). And in the next chapter again something to the pickle in own brine.
For the curing salt mixture you need about 4% of the meat weight of nitrite curing salt and 0.5% of sugar (optional).
For 1 kg, this would be 37.5 grams of salt, 2.5 g Cure #1 and 5 grams of sugar. To this, you also add spices of your choice.
Now rub your meat with the mixture. Don’t be surprised, you won’t need the complete amount in the first step.
Now hang the meat in a dark, cool place (refrigerator temperature) or place it on a grill. IMPORTANT: The liquid must be able to drip off the meat
After one day, the meat will have lost some of its liquid and you can mix it again with your mixture.
Repeat this step until you have used up all the liquid. After the last rubbing, let the meat hang for about 1 day per cm of meat.
Then rinse the meat and pat it dry. Before cold smoking, let it dry off for half the calculated curing time, rounded up to whole days. For air-drying, hang it up and drying begins immediately.
Curing in own brine / curing in vacuum
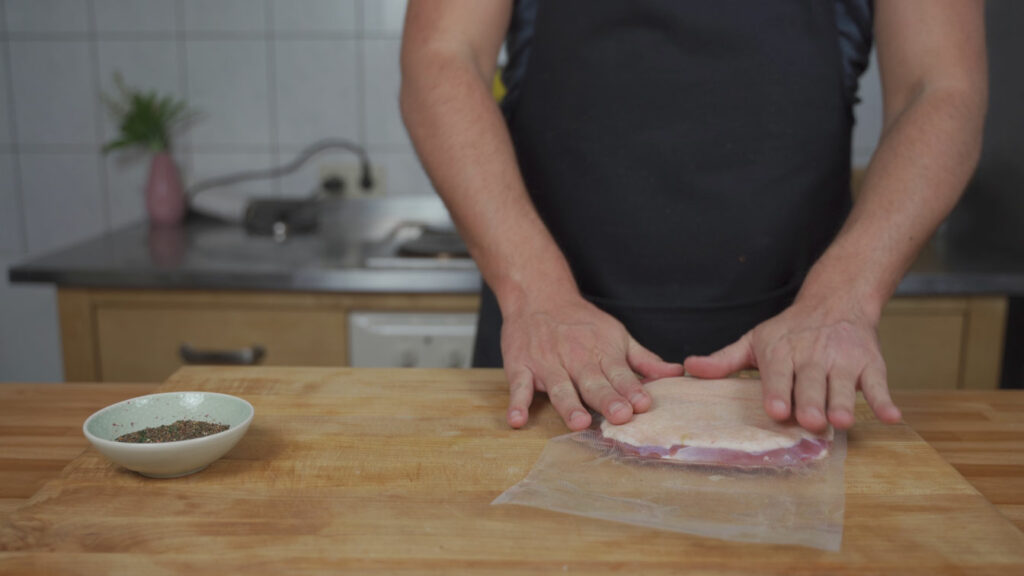
Curing in brine or in a vacuum works in the same way as the dry curing mentioned above. The difference is that the extracted water cannot drain off and the meat therefore remains in its own brine.
It is, so to speak, a dry/wet curing hybrid.
You make a curing salt mixture again. Approx. 3.25% of the meat weight of salt 0.25 % Cure #1 and 0.25% of sugar mixture (optional).
Then rub it on the meat and put it in a container/jar/vacuum bag/Zip-Lock bag with the rest of the mixture.
And depending on what you store it in, the next steps will now change…
Container/Jar
Pack the meat in a suitable container on top of each other, leaving no gaps if possible. Plastic containers with tightly closing lids are suitable.
Important: Your container must be tightly sealed and absolutely clean.
The salt extracts moisture from the meat and forms a natural brine at the bottom, it should be rearranged every second day (from bottom to top).
If from the 3rd day not all pieces of meat are covered with the brine, you can add some brine.
Vacuum bag
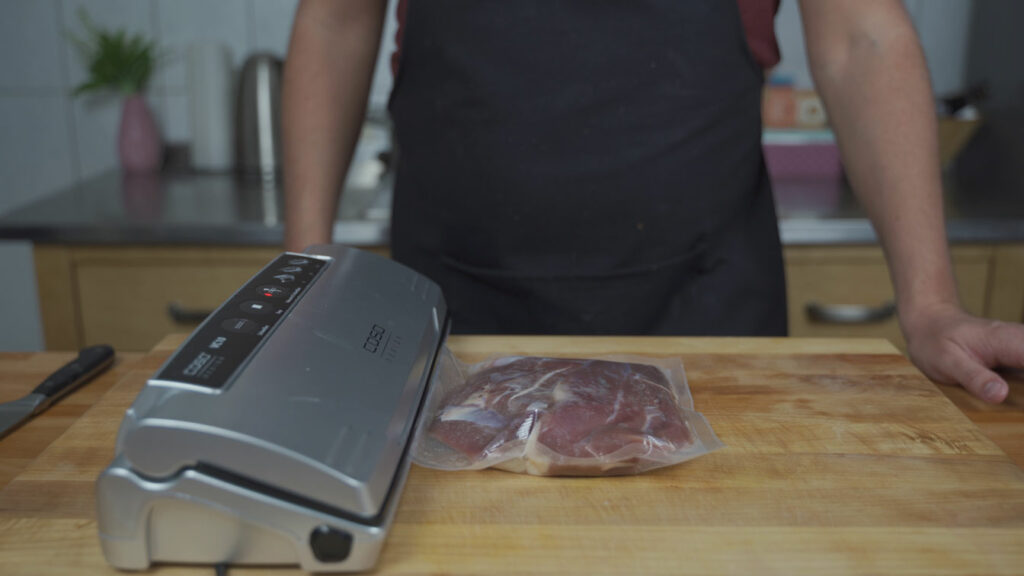
The safest method for me personally. Since there is no oxygen left after vacuuming, there is virtually no chance for bacteria. Rub the meat with the mixture, pack everything together in a vacuum bag and vacuum the whole thing.
Then put the bags in the refrigerator and turn them every 1-2 days.
For vacuum curing, calculate 1.5 days per cm at the thickest point.
Zip-Lock bag
The process is the same as the vacuum bag, except this time you have to get the air out of the bag yourself. The easiest way is to hold the Zip-Lock bag in a pot of water after filling. The water pressure, pushes the air out and you can seal it.
Watering
In the methods I have presented, the salt is weighed out exactly to the amount of meat and soaking is eliminated
However, there are recipes where your meat is packed in as much salt as possible to draw out the water faster.
However, this over-salts the meat and makes it inedible for the time being.
To “wash” the salt out of the meat, it is watered.
The process is relatively simple… You put the meat in water.
How long depends on the dosage of salt and is usually written in the recipes. Unfortunately, in addition to the salt, some of the spices are pulled out during this process. So if you want to get around that, you should weigh the salt carefully when curing and use one of the methods from this post.
Dry off before cold smoking
Before cold smoking, let vacuum-cured and dry-cured products, such as ham, dry off for half the calculated curing time, rounded up to whole days. Use the calculated curing time, not the time the meat actually spent in the cure. Leaving it in the cure longer does not extend the drying-off time. If you are air-drying the meat, drying starts directly; meat that will be cooked or hot-smoked does not need this separate step.
After your meat is done curing, hang (or place on a rack as in dry curing) it in a cold place. You can also use the refrigerator for this. Make sure there is enough fresh air coming in, though.
Salt equalization and drying off are different
In a traditional cure with excess salt, the meat is soaked in water after curing to remove some of the salt. The remaining salt then needs time to spread evenly through the meat. This is salt equalization. Drying off means reducing moisture, particularly at the surface before cold smoking.
- Curing. Salt moves from the outside into the meat.
- Soaking. If excess salt was used, soaking draws some of it back out.
- Salt equalization. After soaking, the remaining salt spreads evenly through the piece.
- Drying and maturing. Water evaporates from the meat.
With vacuum curing, salt equalization already takes place in the bag. True dry curing does not require a separate equalization step either. Before cold smoking, both methods still need the drying-off step described here. If an oversalted piece is soaked after dry curing, salt equalization is needed again.
Temperature, place and humidity
Temperature: ideally between 4 °C (39 °F) and 8 °C (46 °F). Above 10 °C (50 °F), the risk of spoilage increases, especially in the first days after curing.
The place: dark, cool and with light air circulation. A cellar or a curing chamber can provide these conditions. If you use a refrigerator, open the door at least once a day to let fresh air in.
Humidity: aim for 75 to 85 % relative humidity. Too low and the surface dries faster than the inside, forming a dry rim; too high and mold is encouraged. Refrigerator humidity is often only 40 to 50 %. Pat the meat thoroughly dry with a clean kitchen towel after curing.
Hanging: hang the meat freely or lay it on a rack so air can reach it from all sides. Do not put it in a bowl, where moisture can collect underneath.
My own experience: not everyone has the ideal setup at home. Maturing takes place between 12 °C (54 °F) and 15 °C (59 °F), often in a cellar. I have also used these temperatures for the initial resting stage. The meat must be thoroughly patted dry after curing and checked regularly. The recommended temperature for drying off remains 4 °C (39 °F) to 8 °C (46 °F).
How long to let meat dry off
Measure the meat at its thickest point to calculate the curing time. For vacuum curing, allow 1.5 days per centimeter; for true dry curing, allow 1 day per centimeter. Then halve that calculated curing time and round up to whole days for drying off before cold smoking.
For a piece 7 cm thick, vacuum curing takes 10.5 days, followed by 6 days of drying off. With true dry curing, the same thickness gives 7 days of curing and 4 days of drying off. Extra days spent in the cure do not change these drying-off times.
The table below is for vacuum-cured cuts that will be cold-smoked:
| Cut | Typical thickness | Calculated curing time | Drying off |
|---|---|---|---|
| Pork belly (speck) | 4–5 cm | 6–7.5 days | 3–4 days |
| Lachsschinken / loin | 6–8 cm | 9–12 days | 5–6 days |
| Ham (leg) | 10–15 cm | 15–22.5 days | 8–12 days |
| Pork tenderloin | 3–4 cm | 4.5–6 days | 3 days |
| Coppa / neck | 8–10 cm | 12–15 days | 6–8 days |
The surface must be dry before cold smoking so that the smoke takes evenly.
After vacuum curing
With vacuum curing, the salt is calculated from the meat weight in advance. You are not curing with a surplus, so the traditional soaking step is unnecessary. Before cold smoking:
- Take the meat out of the vacuum bag and rinse it briefly under cold water.
- Pat it thoroughly dry with a clean kitchen towel.
- Hang it up or lay it on a rack at 4 °C (39 °F) to 8 °C (46 °F).
- Let it dry off for half the calculated curing time, rounded up to whole days.
Leaving the meat in the vacuum bag can allow salt equalization, but it cannot dry the surface. Take it out of the bag to dry off before cold smoking. If you are air-drying it instead, take it out, pat it dry and hang it up: drying starts directly.
After other curing methods
True dry curing: a separate salt-equalization step is unnecessary unless excess salt was used and the meat was soaked afterwards. Before cold smoking, let it dry off just as after vacuum curing: half the calculated curing time, rounded up to whole days.
Wet curing for cooked or hot-smoked meat: neither a separate equalization step nor this drying-off period is needed. For cold-smoked or air-dried products, use dry curing or vacuum curing.
Injection curing: the meat is processed directly rather than air-dried. Injection adds water and is not suitable for raw products such as air-dried ham.
The right salt for curing (curing salt or sea salt?)
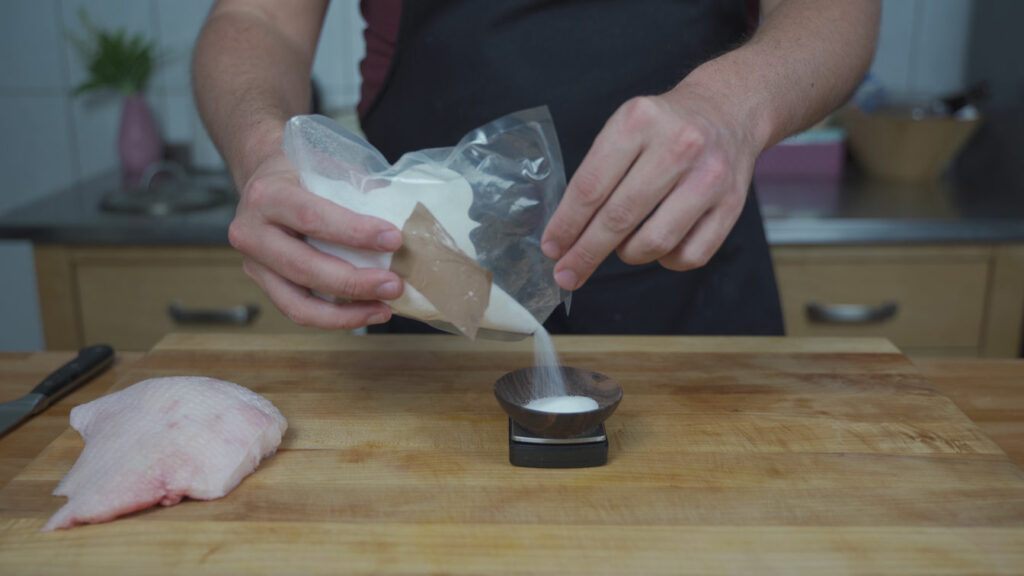
A question that comes up again and again: Can I cure without curing salt? Yes, as you could read above, it works in some cases.
Nitrite curing salt is a mix of salt and 0.4-0.5% potassium or sodium nitrite. It is added to improve the shelf life and to keep the red color from the meat.
You can only cure with nitrite curing salt. If you use normal salt, it is more like salting.
Your curing method and the further processing of the meat will determine which salt you can use.
If your meat is cooked through after curing, you can also use regular salt. IMPORTANT: Your meat will lose its reddish color and turn gray.
If it is raw sausage, then this is only possible with dry curing without own brine.
Frequently asked questions about curing meat
How long does meat have to cure?
It depends on the method and on how thick the meat is. For wet curing, count on 2 – 3 weeks for larger pieces. For dry curing, roughly 1 day per cm of thickness. Quick curing with an injection brings it down to 3 – 4 days. For curing in a vacuum bag, calculate 1.5 days per cm at the thickest point.
What is the difference between wet curing and dry curing?
With wet curing you lay the meat into a brine you have mixed. With dry curing you rub it directly with the salt and cure. Wet curing works more evenly and suits large pieces. Dry curing pulls out more moisture, which is why it is the method for air-dried products like bacon and dry-cured ham.
Can you cure without Cure #1?
Strictly speaking, no. Without a cure you are salting the meat, not curing it. If the meat gets cooked afterwards, plain salt is fine and the only thing you lose is the colour, because it will come out grey instead of pink. For raw products and anything you cold smoke, the cure is not optional. There is more on the whole subject in my curing salt guide.
What temperature should you cure at?
Always at a maximum of 8 °C (46.4 °F), and ideally at 4 – 6 °C (39.2 – 42.8 °F). An ordinary fridge is perfect for it. Warmer than that and you are giving bacteria the conditions they want.
What can you cure?
In principle any meat. The usual cuts are pork (belly, shoulder, neck, leg) and beef (brisket for corned beef). The classic products are Kassler, cooked ham, bacon and the whole family of dry-cured hams.