Pickled Bell Peppers – Recipe and 3 Variations

- Level
- Easy
- Rating
- Rate this recipe
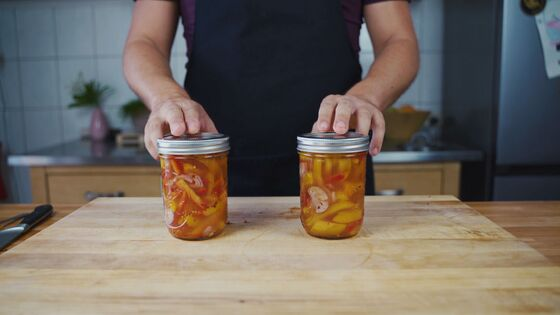
Have bell peppers from the garden or local market that you want to pickle? These pickled bell peppers are a great way to do it.
You don’t always have to pickle peppers raw. Grilled peppers work too and taste delicious. That’s why I’ve included a bonus recipe with grilled pepper pieces at the end.
Serve your pickled peppers as a tasty side dish or antipasti. They’re excellent on a sandwich too.
Besides pickles, you’ll also find delicious sausage and ham recipes here on my blog.
Enough talk 🙂 Here’s the complete pickled bell peppers recipe to read through.
Have fun making them!
Pickled bell peppers – What do you need to make them?
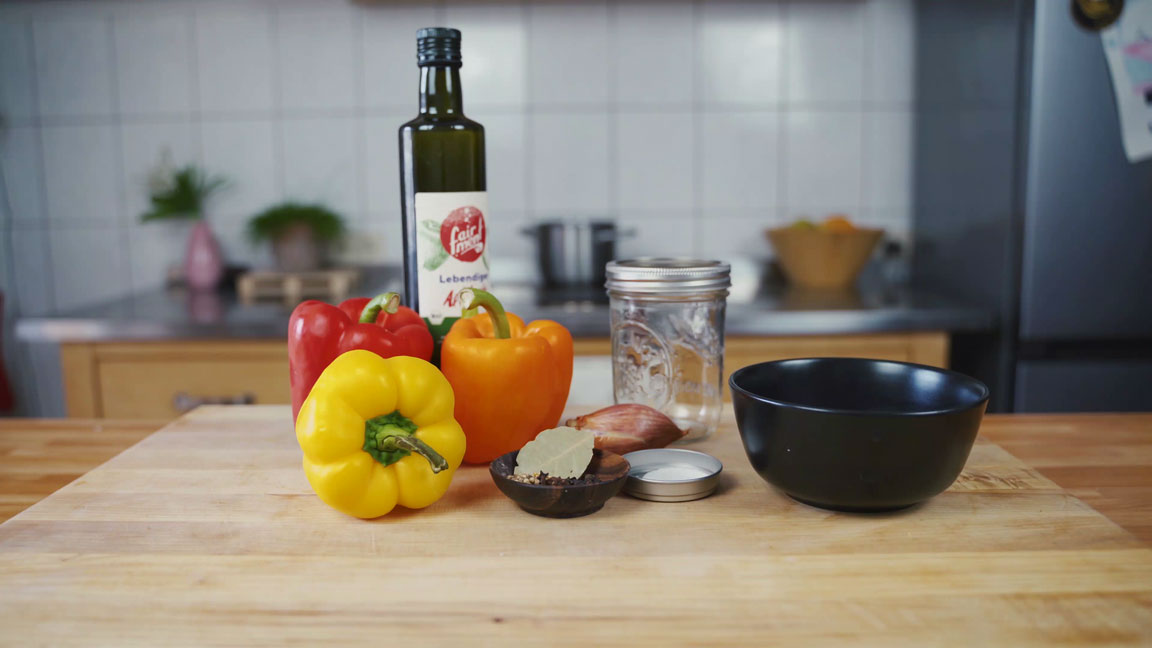
Ingredients
| Ingredient | Grams | Percent |
|---|---|---|
| For two to three 400 ml jars | ||
| cloudy, unpasteurized apple cider vinegar my recommendation | 700 ml | |
| sugar about 2 tbsp | 30 g | |
| salt about 1 tbsp | 14 g | |
| red, green or yellow bell peppers | 6 | |
| shallot | 1 | |
| bay leaf | 1 | |
| black peppercorns to taste | — | |
| cloves to taste | — | |
| mustard seeds to taste | — | |
Equipment
Preserving jars
The peppers are pickled and preserved in jars. You can use traditional straight-sided preserving jars or screw-top jars, WECK jars, or the Mason Ball jars that I personally find prettier.
Make pickled bell peppers – Step-By-Step Instructions
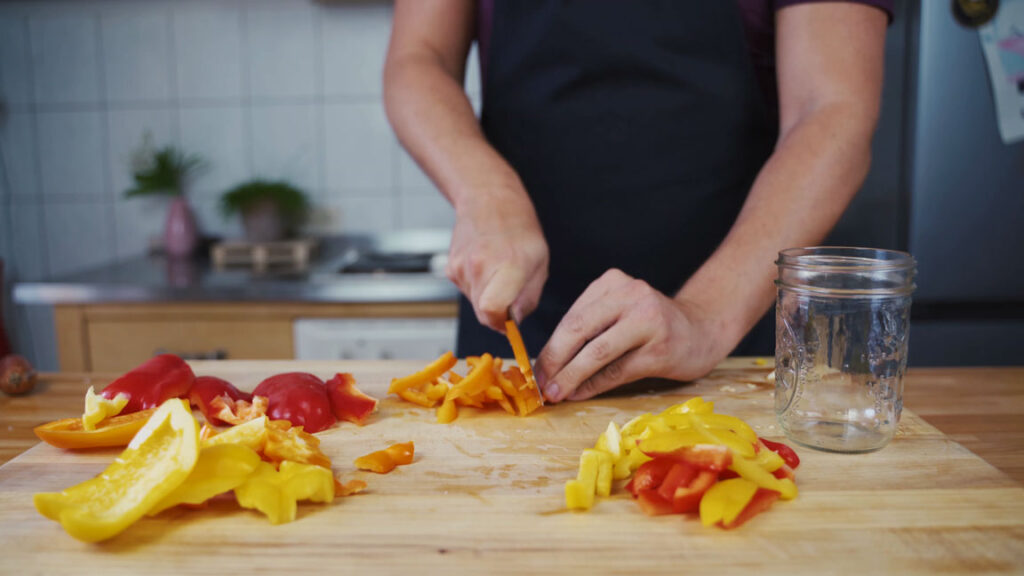
Cut the peppers
Cut the peppers into strips, slices or cubes. The shape is up to you. It’s a matter of taste.
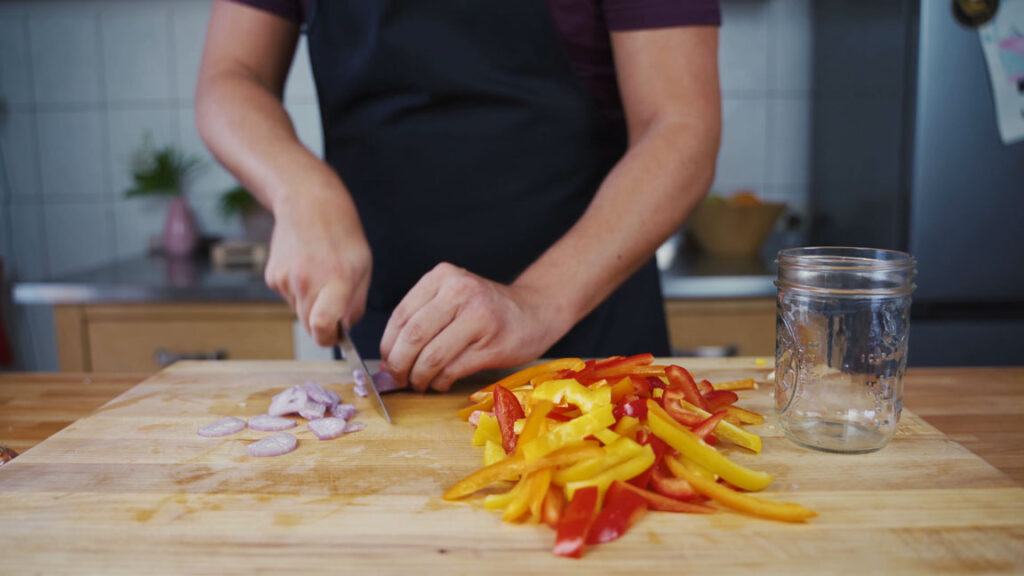
Cut the shallots and combine
Cut the shallots into fine strips, then mix them with the pepper strips.
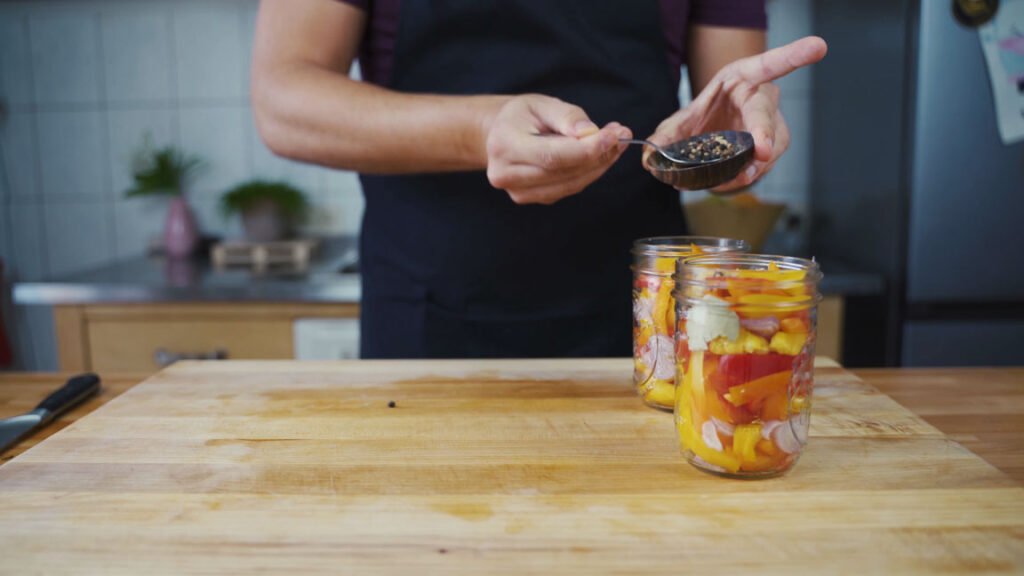
Fill the jars with spices and peppers
Mix the bay leaf, pepper, cloves and mustard seeds and put them in your jar with the peppers. If you’re using several jars, divide the spices evenly.
Boil the vinegar mixture and fill the jars
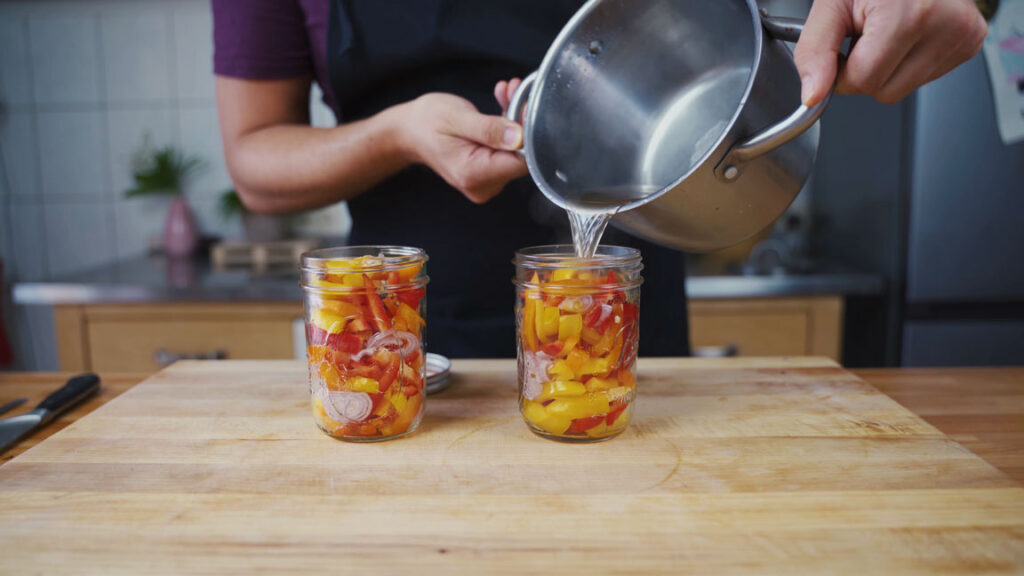
For the quick version, put the apple cider vinegar, sugar and salt in a pot and boil the liquid for 10 minutes. Then pour it into the jars.
Important: The peppers should be as completely covered with the liquid as possible.
Store the peppers in the fridge and use within 2–3 weeks. They stay firm, tangy and crisp.
Let the flavors develop
Your pickled peppers are almost ready. In theory, you can eat them as soon as they’ve cooled. My tip: Leave them in the refrigerator for 2 weeks before trying them so they absorb the flavors.
Have fun making them! For more preserving, I also have recipes for pickled cucumbers, pickled zucchini and pickled garlic. My fig mustard goes beautifully with them too.
Storing pickled peppers
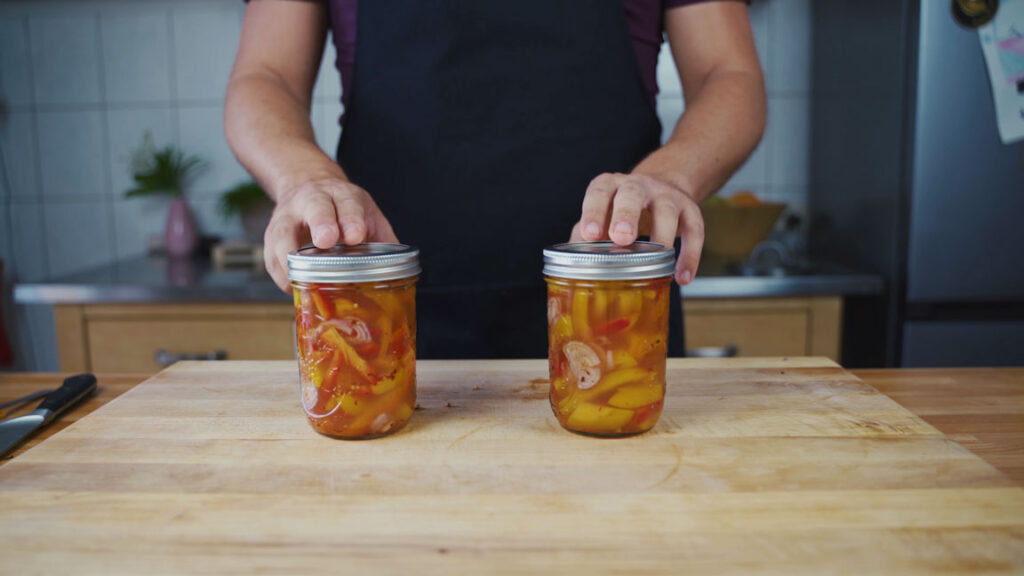
Store the jars in the fridge and use within 2–3 weeks.
Bonus: 3 pickled pepper recipes for you
Marinated grilled peppers
Ingredients:
- 6 bell peppers
- 8 sprigs thyme
- olive oil
- 3 garlic cloves
- salt
- pepper
Method
- Quarter the peppers and put them on a baking sheet, skin-side up.
- Set your oven to broil and put the sheet in for 15 minutes. The skins should blacken in places.
- Then peel off the skins and season the pepper pieces with salt and pepper.
- Put the peppers in a jar with the thyme and garlic, then fill the jar with olive oil.
- Make sure the peppers are completely covered. Store them in the fridge and use within 2–3 weeks.
Asian-style pickled peppers
This recipe is very similar to the basic recipe; just replace a few ingredients:
- Replace the apple cider vinegar with rice vinegar.
- Add 20 ml soy sauce.
- Replace the cloves with coriander seeds.
- If you like a little more heat, use some Sichuan pepper instead of regular pepper.
Hungarian pickled peppers
Ingredients:
- 500 g Hungarian peppers (such as wax peppers)
- 500 ml white wine vinegar
- 500 ml water
- 2 tbsp salt
- 2 tbsp sugar
- 3–4 garlic cloves, peeled and halved
- 1–2 bay leaves
- 1 tsp black peppercorns
- Optional: 1–2 small chili peppers for extra heat
- Method:
- Prepare the peppers: Wash them thoroughly and remove the stems. You can remove the seeds too, but that’s optional.
- Make the brine: Combine water, vinegar, salt and sugar in a pot. Bring to a boil and stir until the salt and sugar dissolve completely.
- Add the seasonings: Add the garlic cloves, bay leaves and peppercorns to the brine. For hotter pickled peppers, add one or two small chili peppers.
- Fill the jars: Put the peppers in sterilized preserving jars. Pour the hot brine over them to cover them completely, leaving about 2 cm of headspace at the top.
- Seal and cool: Close the jars tightly and let them cool to room temperature. Then let them rest in the refrigerator for at least 2 weeks so the flavors develop fully.
- Storage: Keep the jars in the fridge from the start and use within 2–3 weeks.
Frequently asked questions
How long do pickled peppers keep?
How long do pickled peppers keep?
Store pickled peppers in the fridge and use within 2–3 weeks.
The basic recipe uses undiluted vinegar; keep the finished jars refrigerated.
Keep the peppers covered with liquid and use a clean fork when taking them out.
My tip: Label each jar with the date you made it.
How should I store homemade pickled peppers?
How should I store homemade pickled peppers?
Pickling peppers in vinegar, sugar and salt gives them a tangy flavor. Store the finished jars in the fridge and use within 2–3 weeks.
Keep the jars refrigerated before and after opening.
The grilled peppers in oil also belong in the fridge and should be used within 2–3 weeks.
Do I need to blanch the peppers first?
Do I need to blanch the peppers first?
No, you can pickle them raw. That keeps them crisp and firm. For a softer texture, try the grilled pepper variation.
Which vinegar is best for pickled peppers?
Which vinegar is best for pickled peppers?
I recommend cloudy, unpasteurized apple cider vinegar. It has a mild flavor and goes very well with peppers. White or red wine vinegar works too.
Can I mix peppers of different colors?
Can I mix peppers of different colors?
Yes, absolutely! Mix red, yellow and green peppers however you like. It looks attractive in the jar and gives you different flavors too.