
Homemade Salami Sticks – A Recipe for Beginners


- Type
- Cured sausage
- Level
- Easy
- Rating
- Rate this recipe
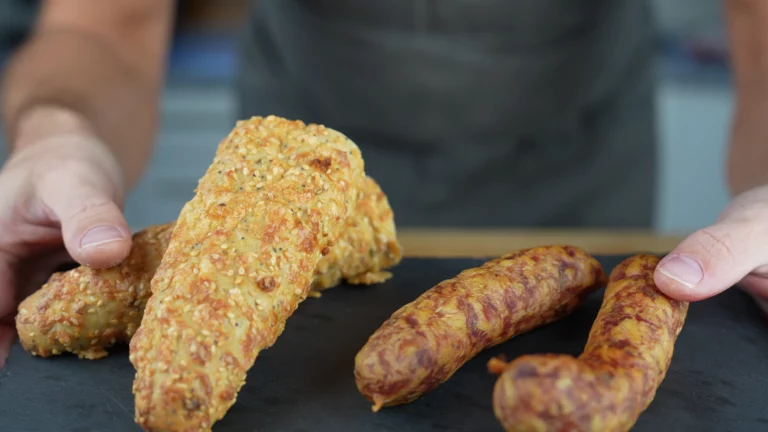
In this post I’ll show you how to make salami sticks yourself. Salami is a cured sausage and is one of the most challenging types of sausage to make yourself.
However, unlike making a thick salami, the salami sticks are rather low maintenance when it comes to making them.
That’s why they’re perfect for getting started with homemade salami. Since the salami sticks are small and thin, there is less that can go wrong in the making process.
Nevertheless, a few important steps must be followed. But you can make them without a drying chamber and measuring pH values and humidity.
If you want to know everything about curing, you can find super detailed information about making salami yourself in this post.
In this article I focus on the production of salami sticks and limit myself to the most necessary.
Here you can find the complete salami stick recipe as a video or to read through.
Have fun and good luck making it!

Table of Contents
Salami Sticks – What do you need to make it?
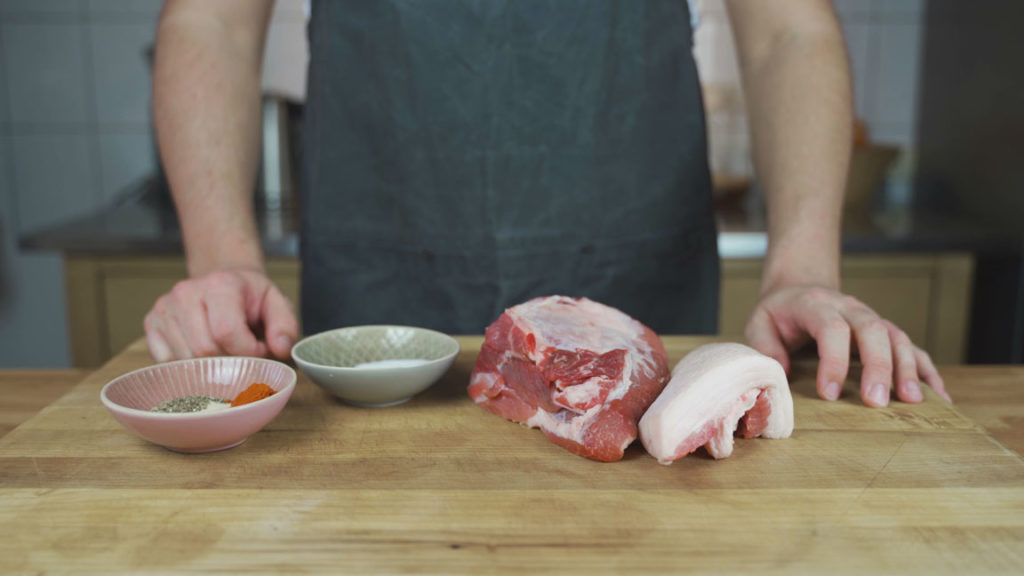
Ingredients per 1 kg
| Ingredient | Grams | Percent |
|---|---|---|
| lean pork | 700 g | 70 % |
| pork back fat | 300 g | 30 % |
Spices per 1 kg
| Ingredient | Grams |
|---|---|
| ground meat | |
| Salt | 21.5 g |
| paprika | 8 g |
| dextrose | 3 g |
| Cure #1 | 2.5 g |
| pepper | 2 g |
| garlic powder | 2 g |
The equipment to make salami sticks
You need a meat grinder to “grind” the meat. The meat is chopped into small chunks with it.
Spice grinder / mortar
To grind your spices, it is best to use a spice mill. Alternatively, a mortar is also suitable. Or you can use already ground spices. I recommend to grind them yourself.
Sausage filler / attachment for the meat grinder / hand filling funnel
You need this to get your meat mass into the casing. For starters, a filler attachment for your meat grinder or a hand filler funnel will work for this. I use this one.
Natural casings
For filling your mass you need natural casings. You can use sheep casings caliber 20/22.
Make Salami Sticks – Step-By-Step Instructions
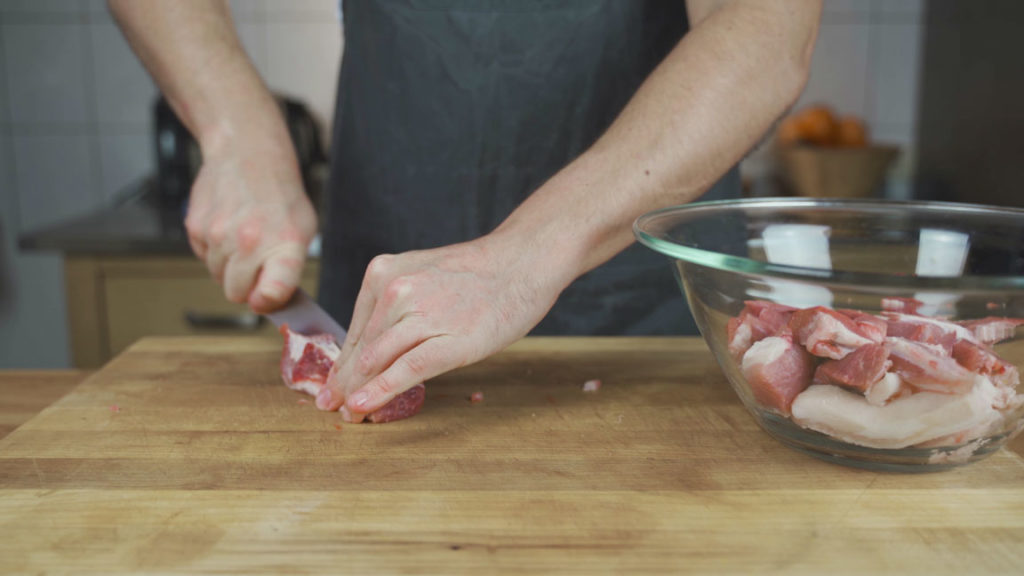
Cut the meat into strips or cubes. The size varies depending on how big your meat grinder is. The bigger the grinder, the bigger your pieces of meat can be.

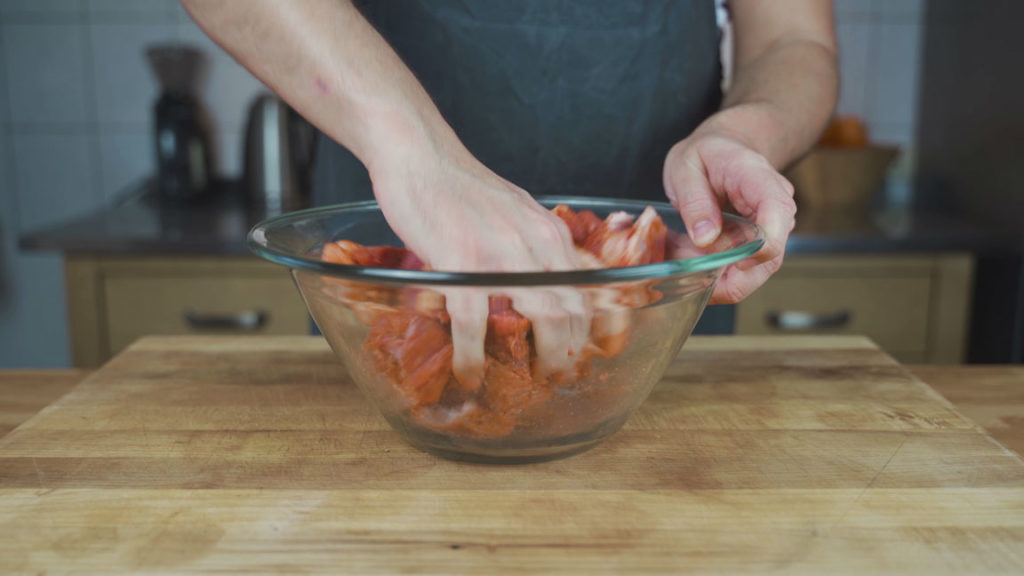
Now mix the spices with the meat. Make sure that everything is covered evenly.
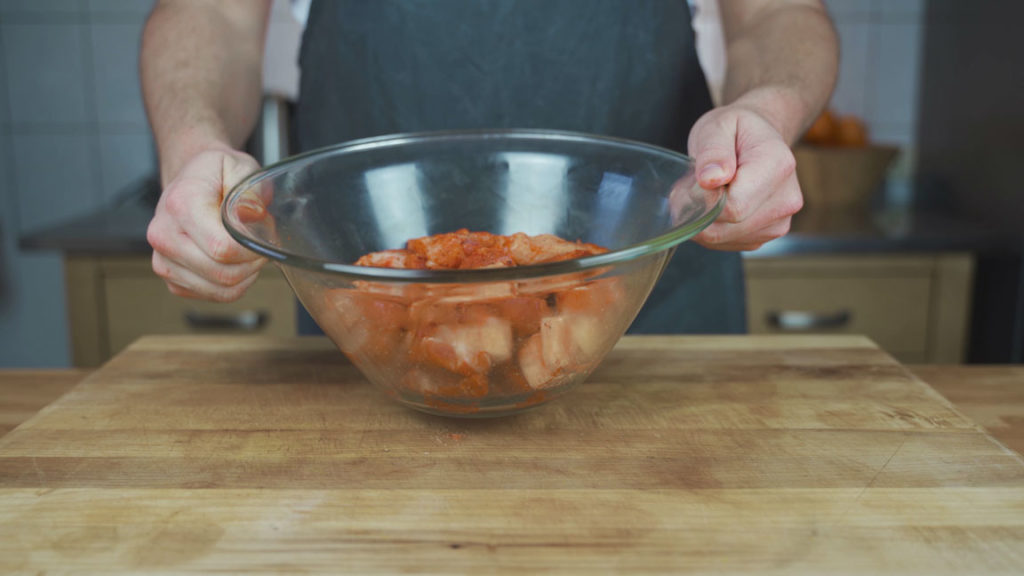
Now put the meat in the freezer for 1-2 hours.
Tip: Put the parts of your meat grinder also in the freezer. This will keep the meat cooler later on.
Now it’s time to grind the meat. Grind the meat once through the medium perforated disc.

Now mix the mass with your hands for a few minutes until a nice binding is formed.
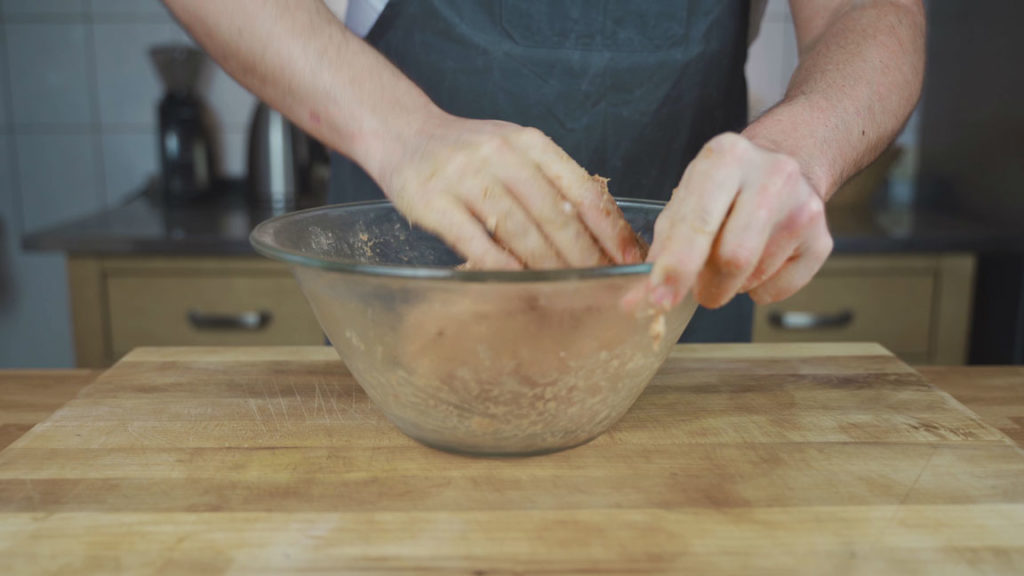
You can now fill the mixture into casings. I use a sheep sow caliber 20/22

twist off the filled salami sticks. You can decide the length for yourself.

Now use a needle or a sausage picker to open any air pockets.

Hang the sticks for 24 hours at room temperature 20 – 25 C° (68 – 77°F). The bathroom usually works very well. If you want to be on the safe side, you can sprinkle them with a little water from time to time.
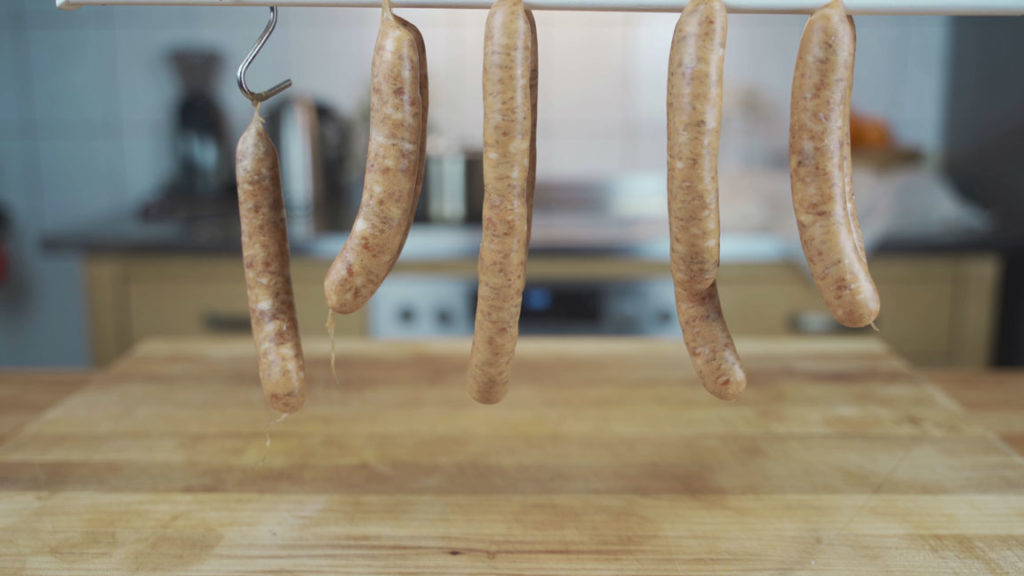
After 24 hours you can hang the salami sticks in a cooler place. My Experience shows that anything below 15 degrees Celsius (59 Fahrenheit) will work. If you don’t have a suitable basement, you can even use the refrigerator here. However it is important that the salami sticks do not touch anything.
The ripening time depends on your desired degree of hardness. For me, 2 weeks are perfect. But this is a matter of taste.
If you let them dry for a shorter time, they’ll be more like Mettwurst. The longer you let them hang, the drier/harder they will be. It’s best to check the hardness once every few days to get a feel for it.
If you want to know more about hooping, you can find it in my salami article.
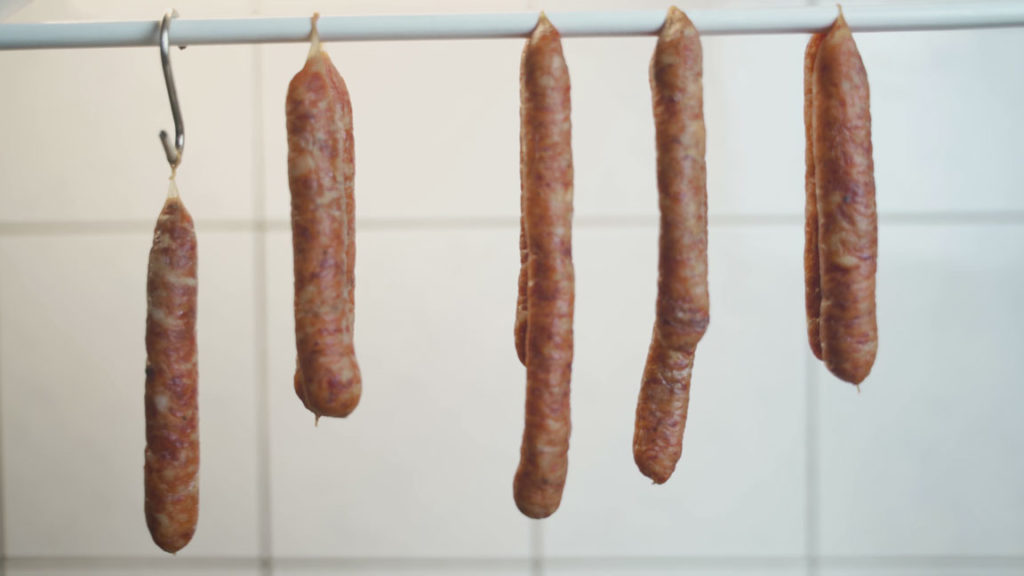
Your Salami Sticks are ready. Enjoy them 😊.
Frequently asked questions
Can you dry salami sticks in a food dehydrator?
Can you dry salami sticks in a food dehydrator?
No, and it is worth knowing before you buy one for this. A dehydrator is built to dry quickly at a warm, steady temperature, which is the opposite of what a raw sausage needs: it has to ferment and dry slowly and cool, and a machine that drives the moisture off too fast stops that from happening properly. Steps 10 and 11 are the slow route, and the slowness is doing the work rather than costing you anything.
What you need instead is a place rather than a machine. The sticks dry from the outside in, and because they are thin there is very little distance between the outside and the middle – which is the whole reason this recipe manages without a drying chamber and without any readings. A cool spot is enough, and step 11 names the ones that work in an ordinary home.
How long is the shelf life of Salami Sticks?
How long is the shelf life of Salami Sticks?
Your salami sticks can be stored in a vacuum for several months in the refrigerator. You can also store them without vacuum in the refrigerator. However, keep in mind that they will continue to dry there and thus become drier / harder.
2nd request for information regarding your different cures you refer to when mixing the spices. Thank you
Hey Rick, what exactly do you want to know?
Hi, I thought cure#1 was for cooked sausages, and cure#2 was more for salami’s? Have you used cure 1 because of the size?
Hey David, no I used Cure #1 because there is no Cure #2 in Germany. We use this type for all sausages and it works just fine. This applies to homemade and butchermade or commercialy made. I will write a detailed article about this next month.
that was a fabulous demonstration